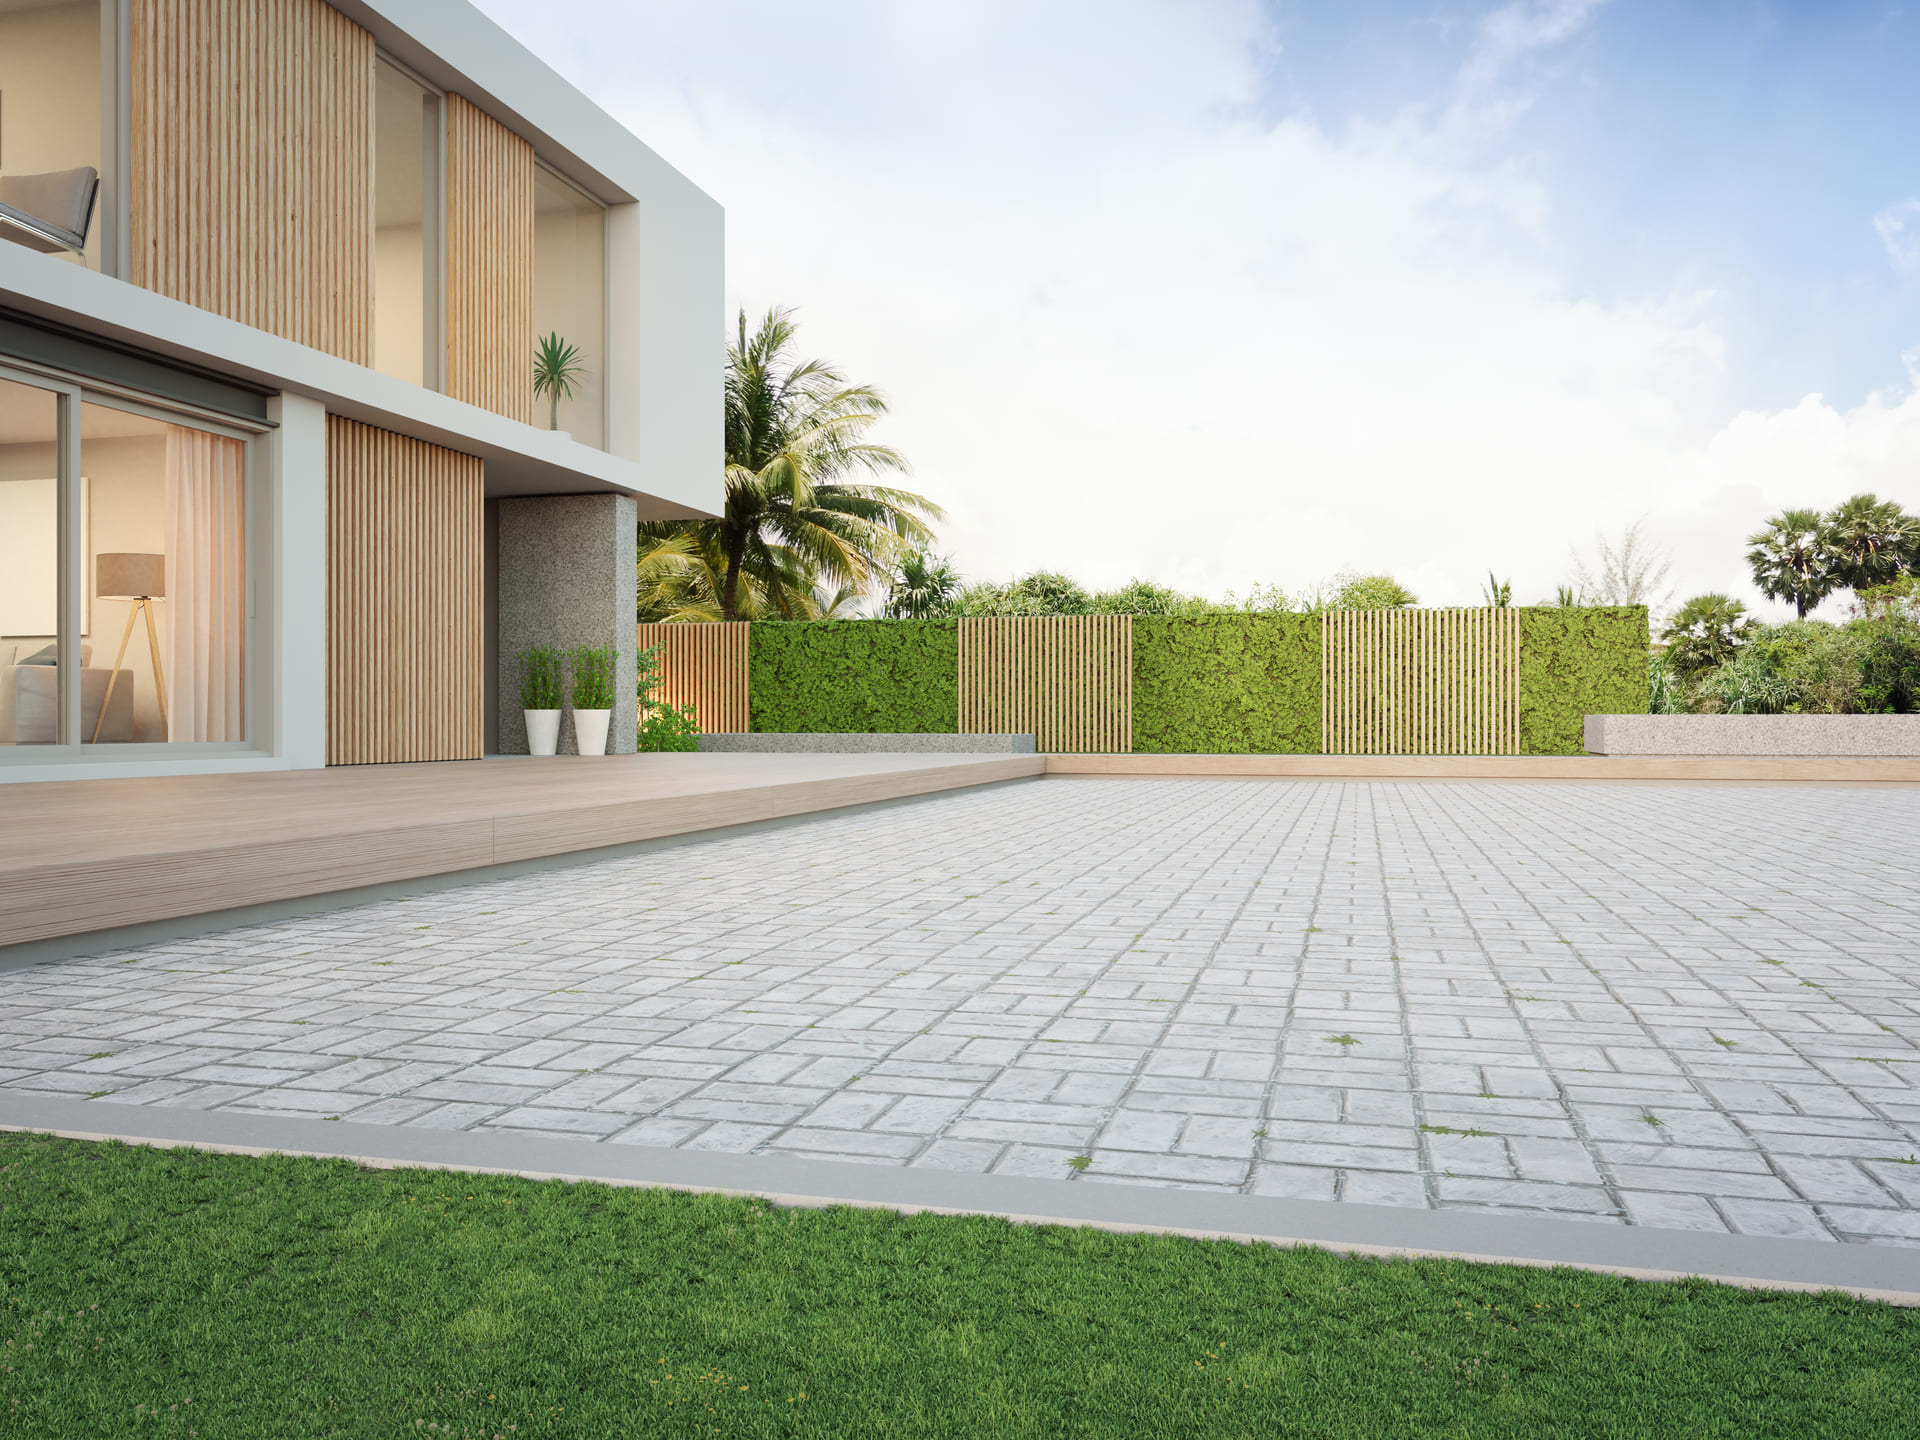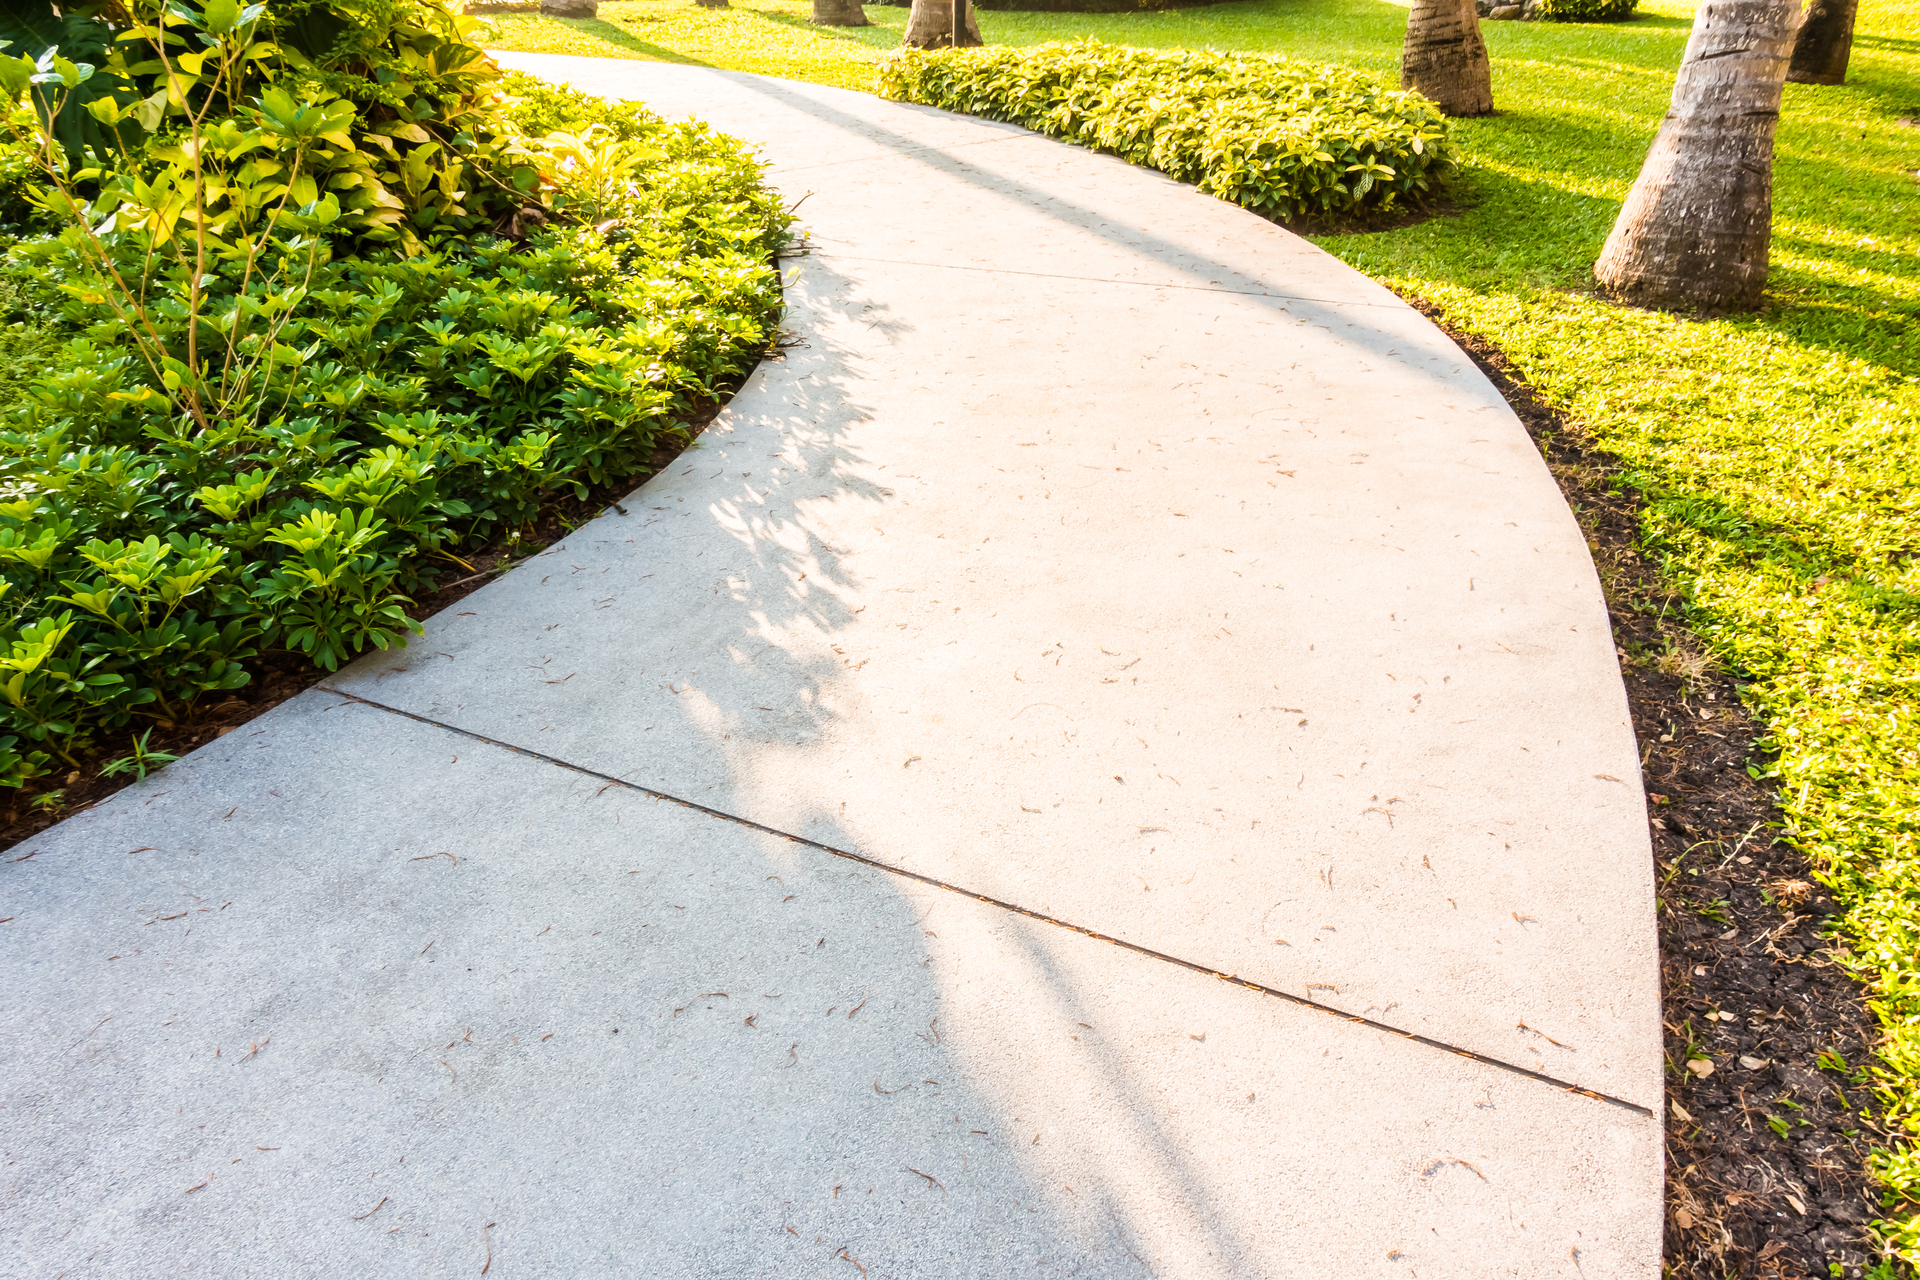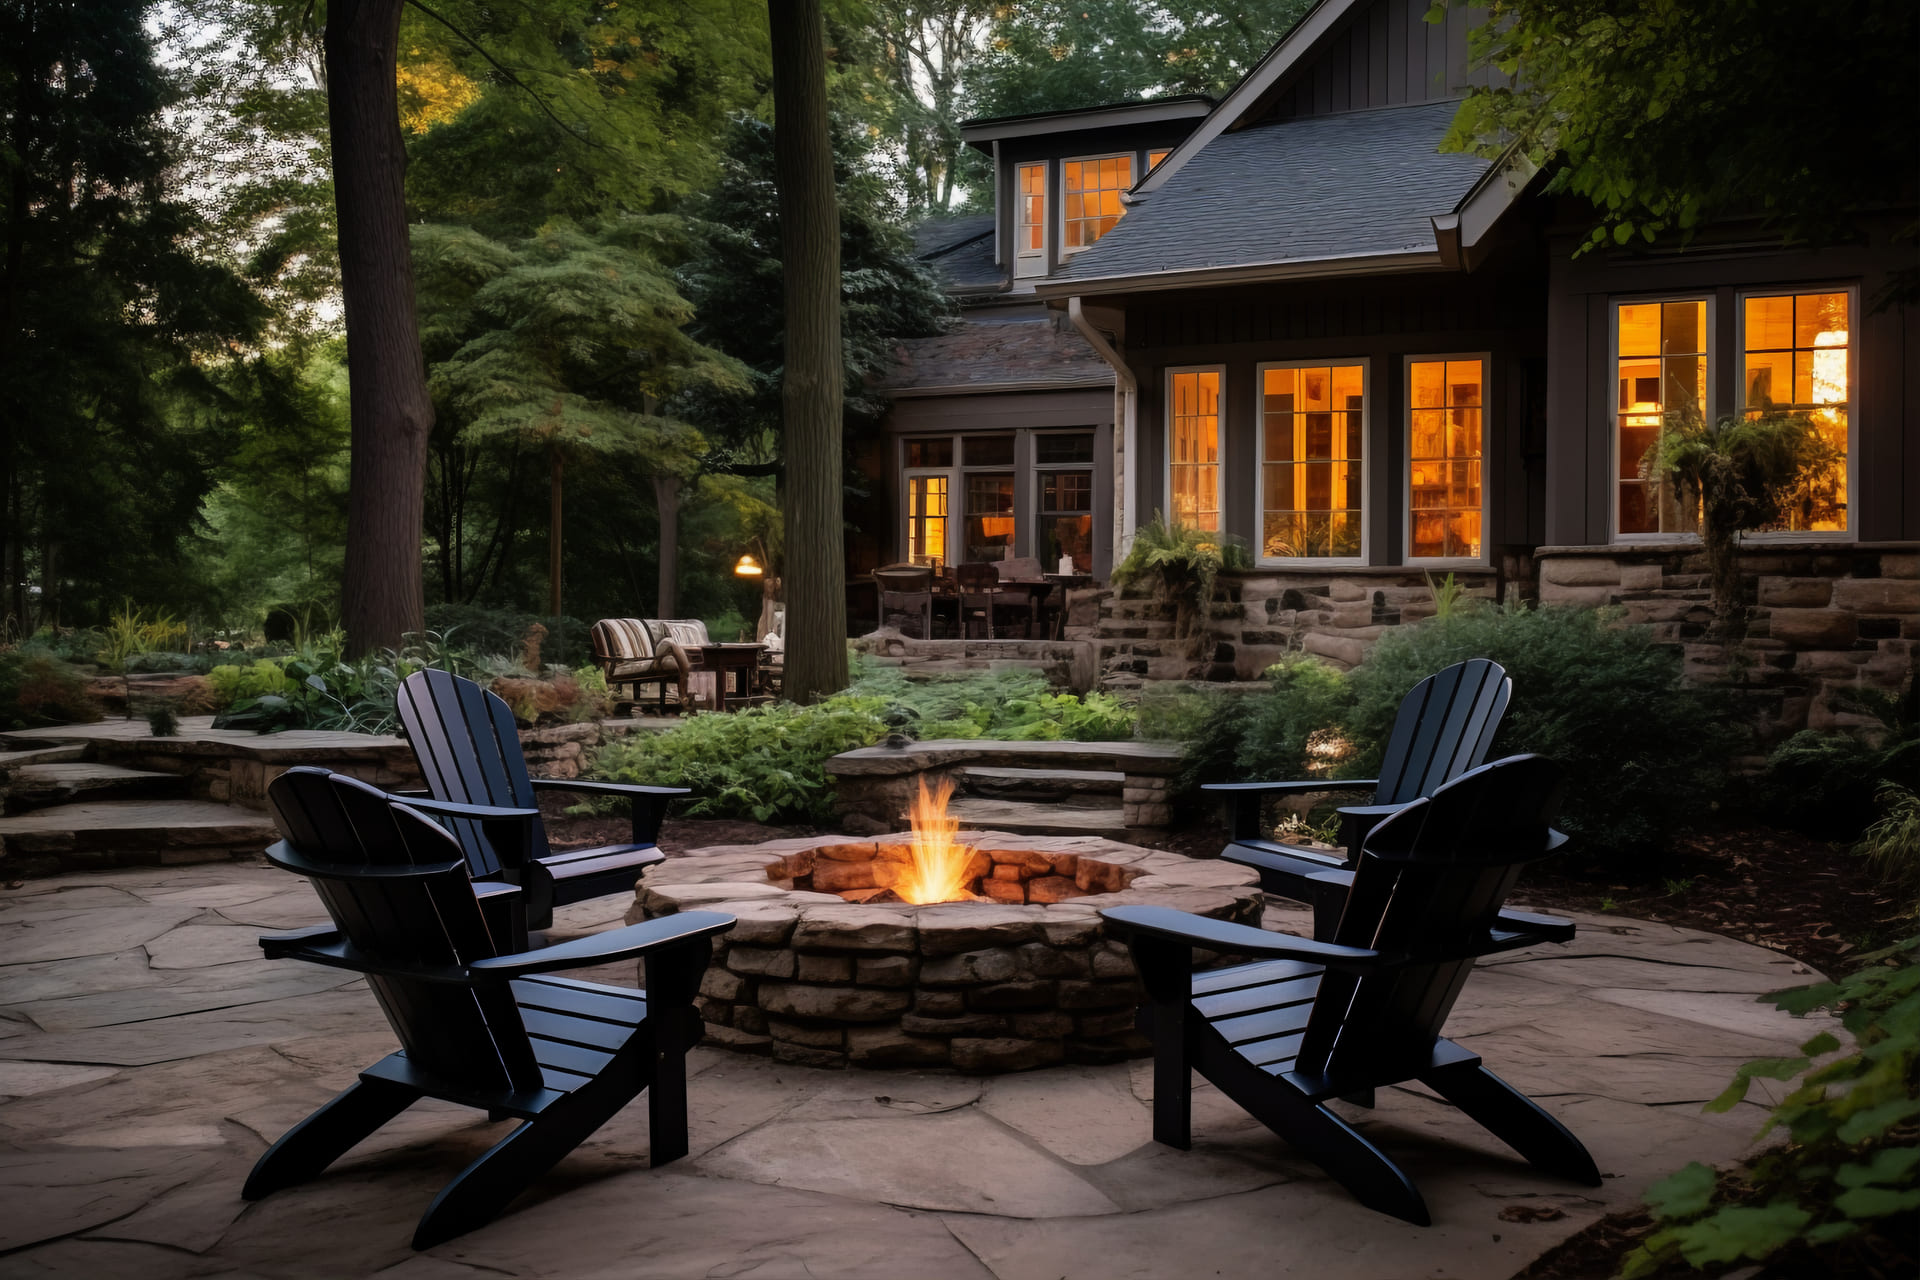
Choosing to install a brick paver patio? Here are the 5 most frequent mistakes homeowners make—and how to bypass them to ensure a durable, beautiful outdoor space.
1. Skipping Proper Base Preparation
Many believe laying pavers on sand over soil is enough—but without a well-compacted base and as-needed drainage, shifting and settlement happen fast.
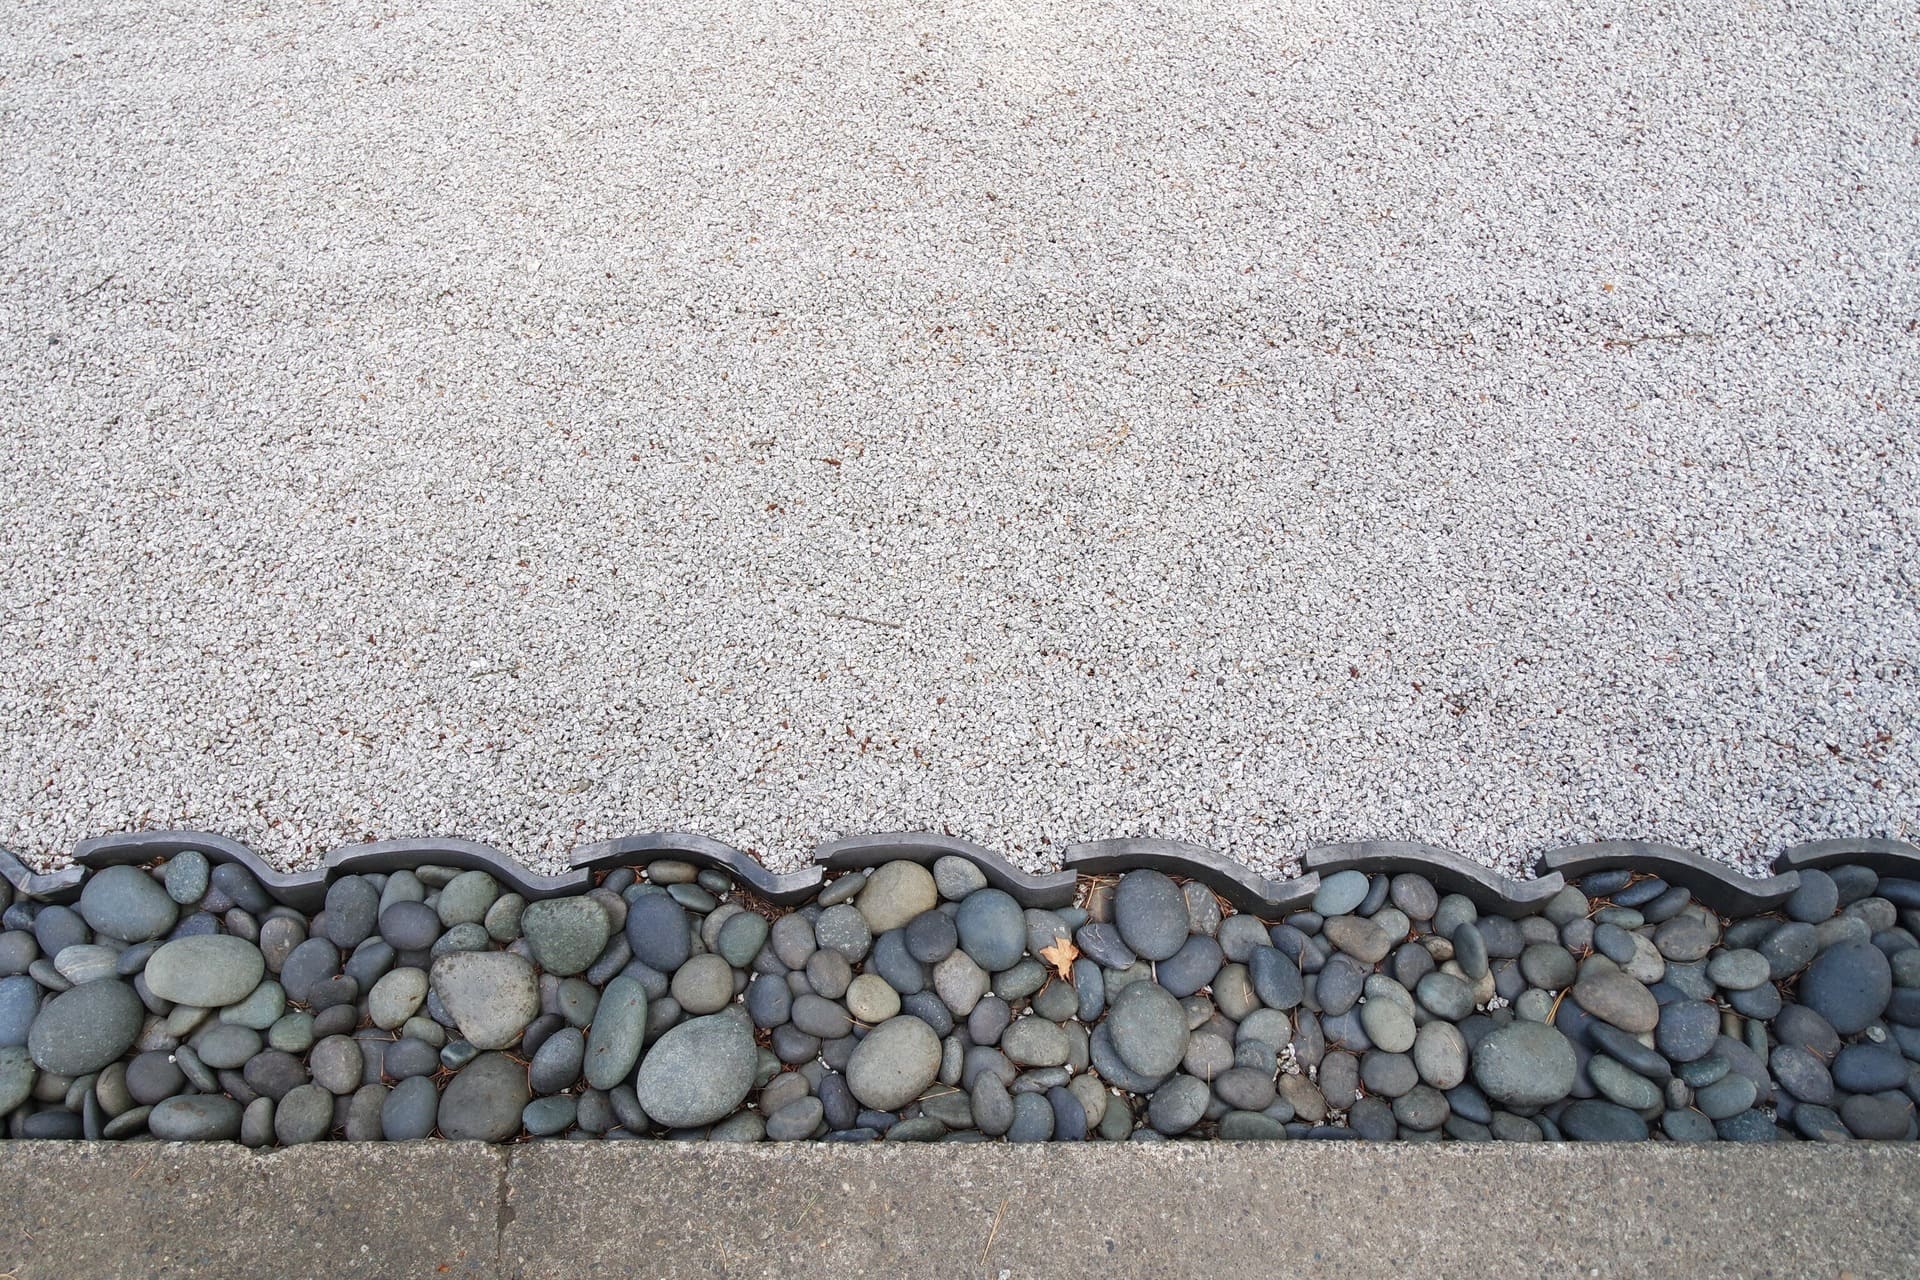
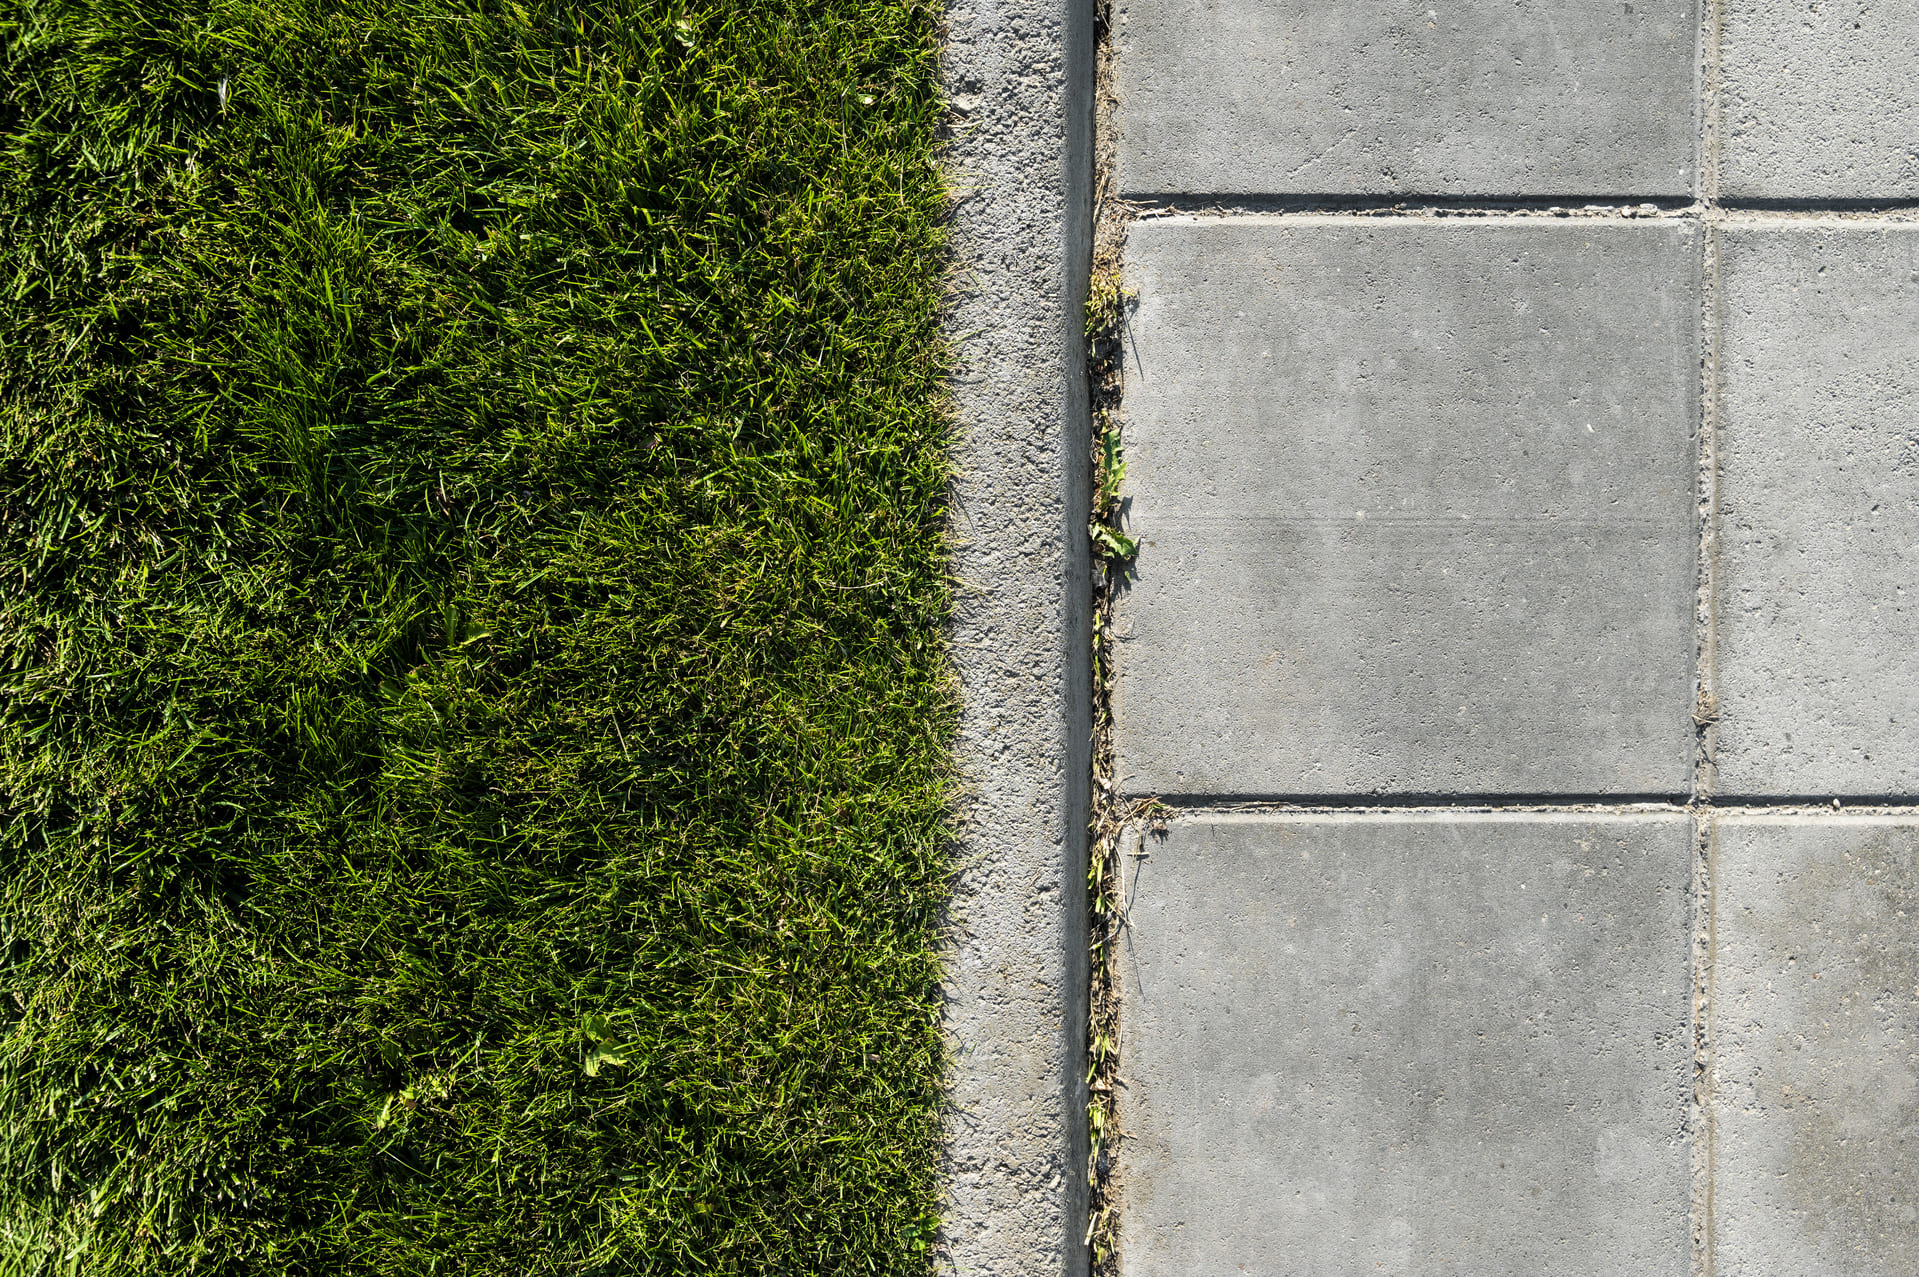
2. Ignoring Edge Restraints
Without solid edge restraints (concrete or heavy-duty plastic), bricks can spread and lose shape over time—especially with Florida’s ground movement.
3. Using Polymeric Sand Incorrectly
From using ordinary sand instead of polymeric to improper compaction or rinsing—any mistake here allows joint failures, weed growth, and instability.
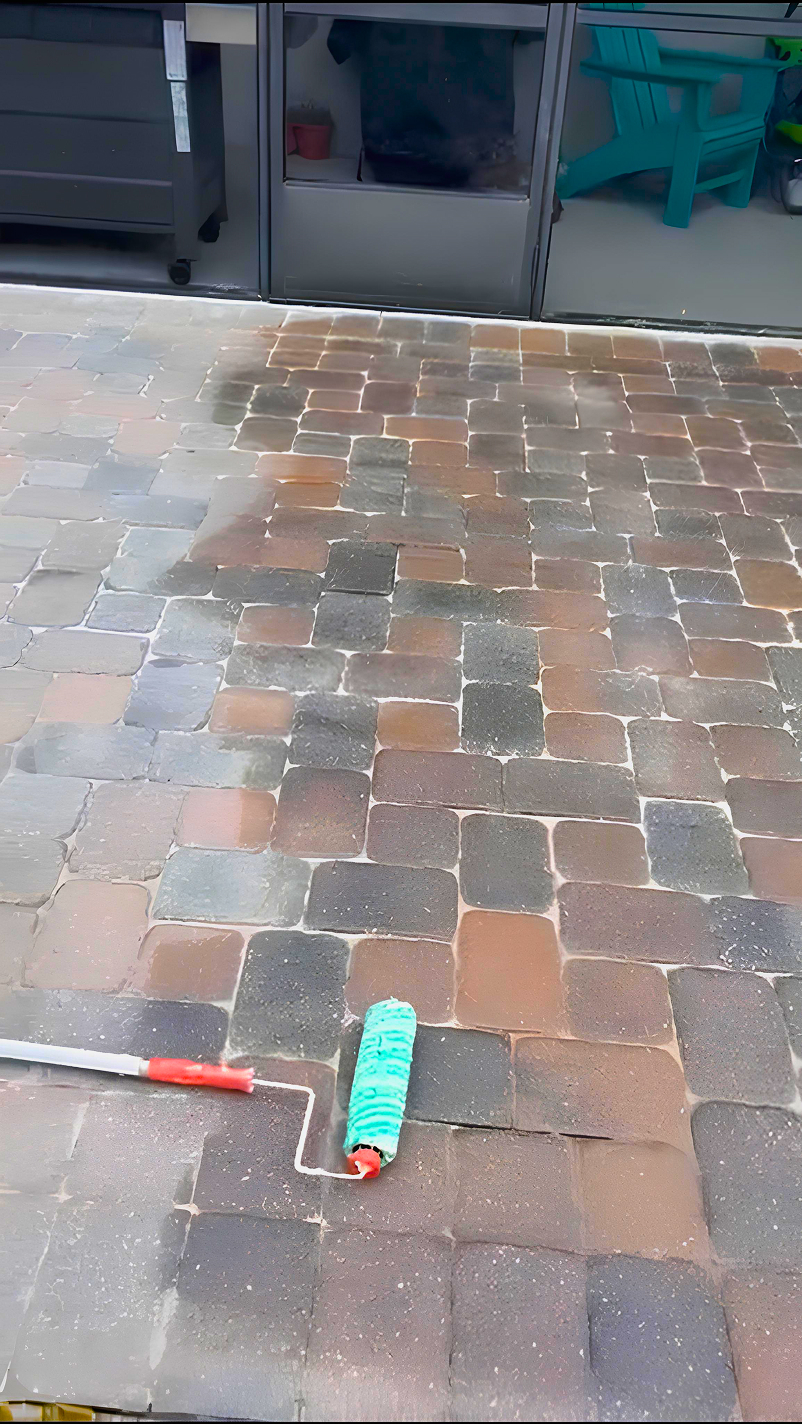
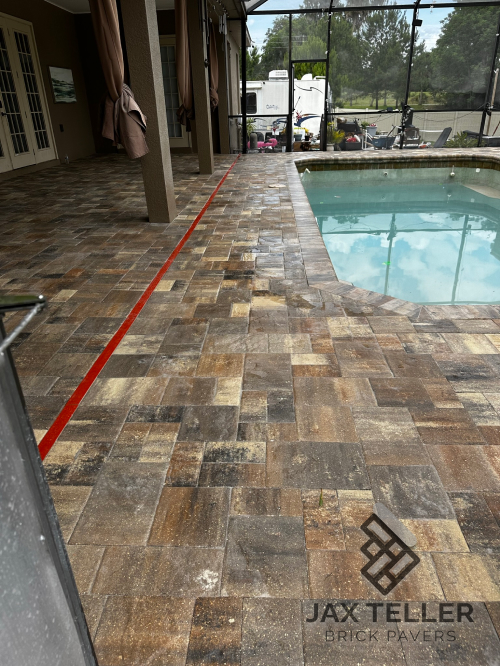
4. Failing to Seal the Surface
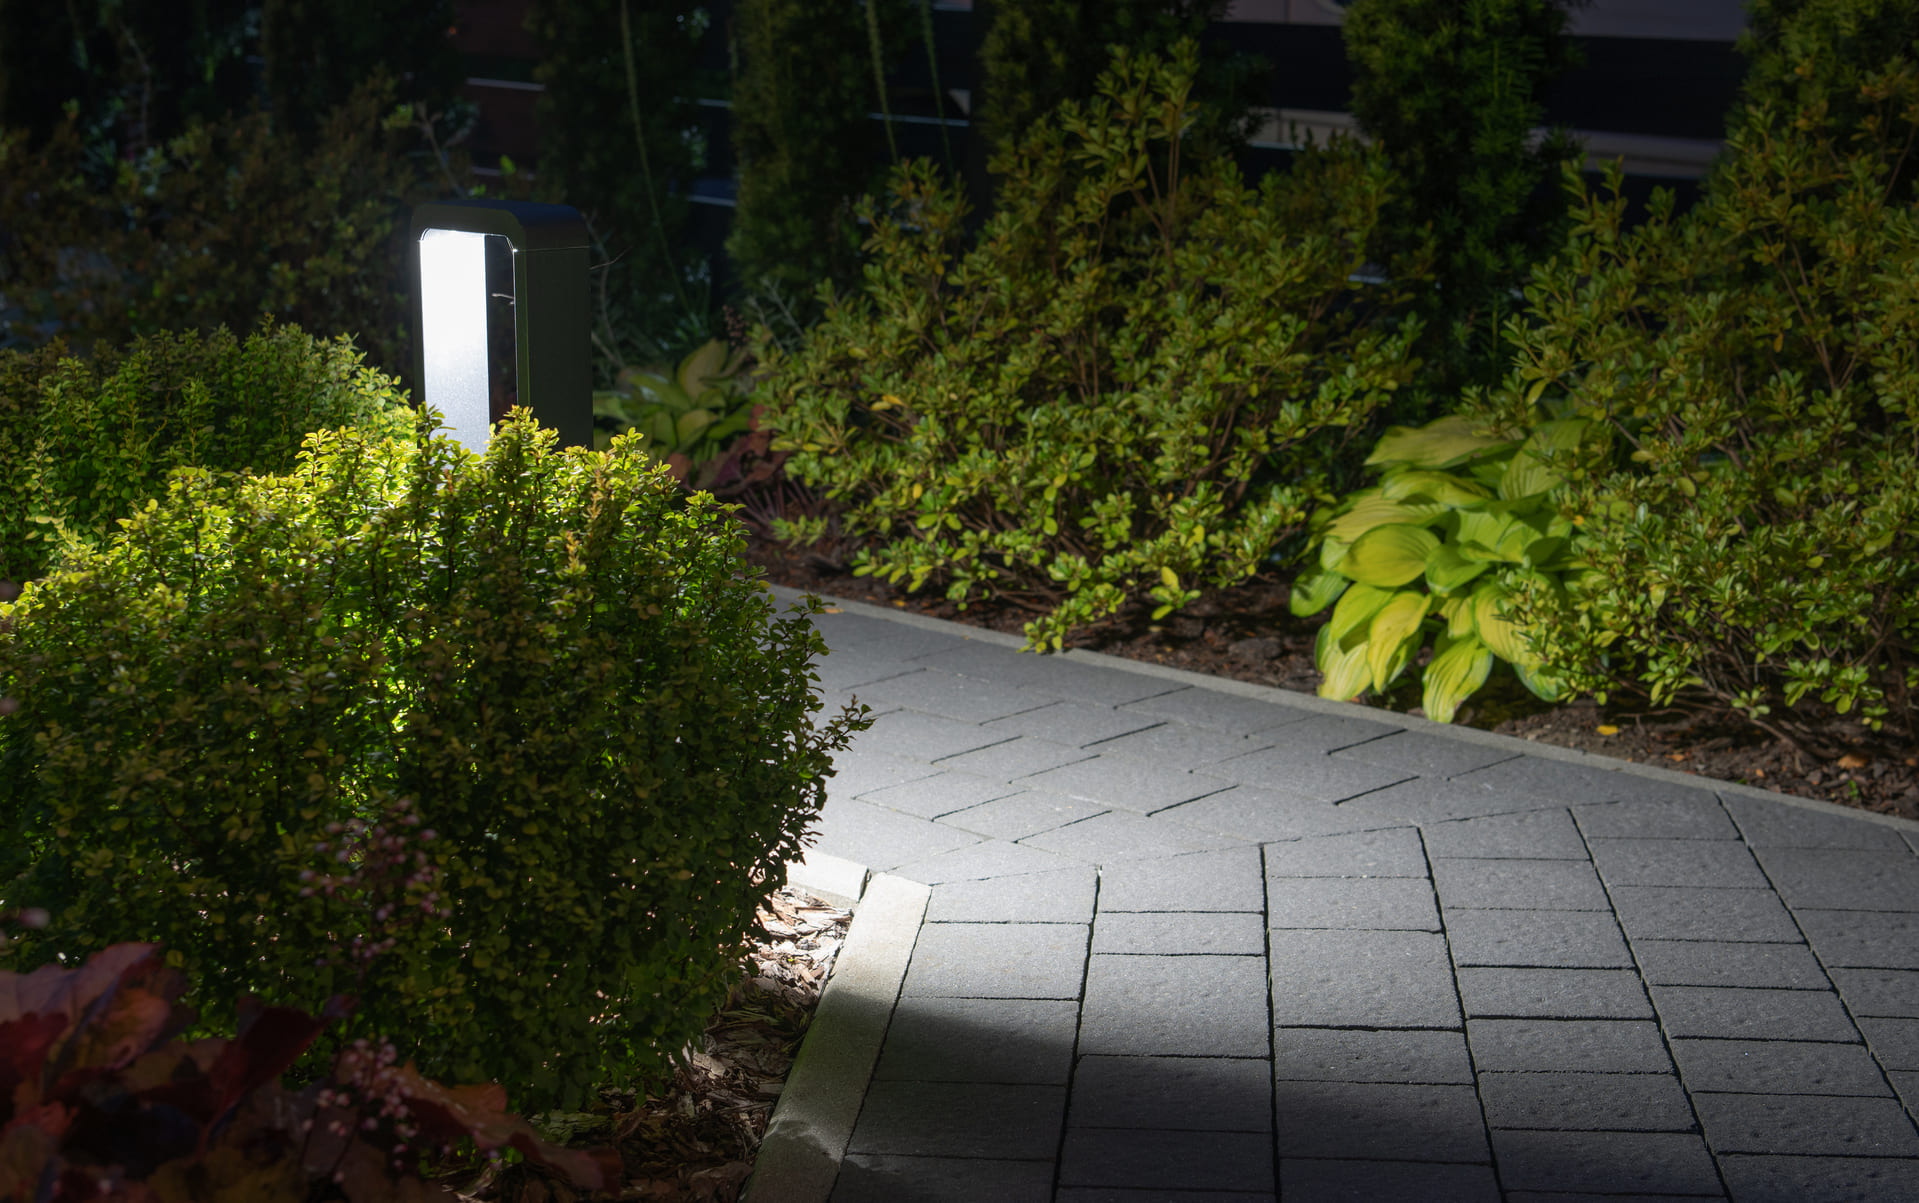
Sealing protects from stains, UV fading, weeds, moss—and enhances color depth. Too often it’s skipped entirely or done improperly.
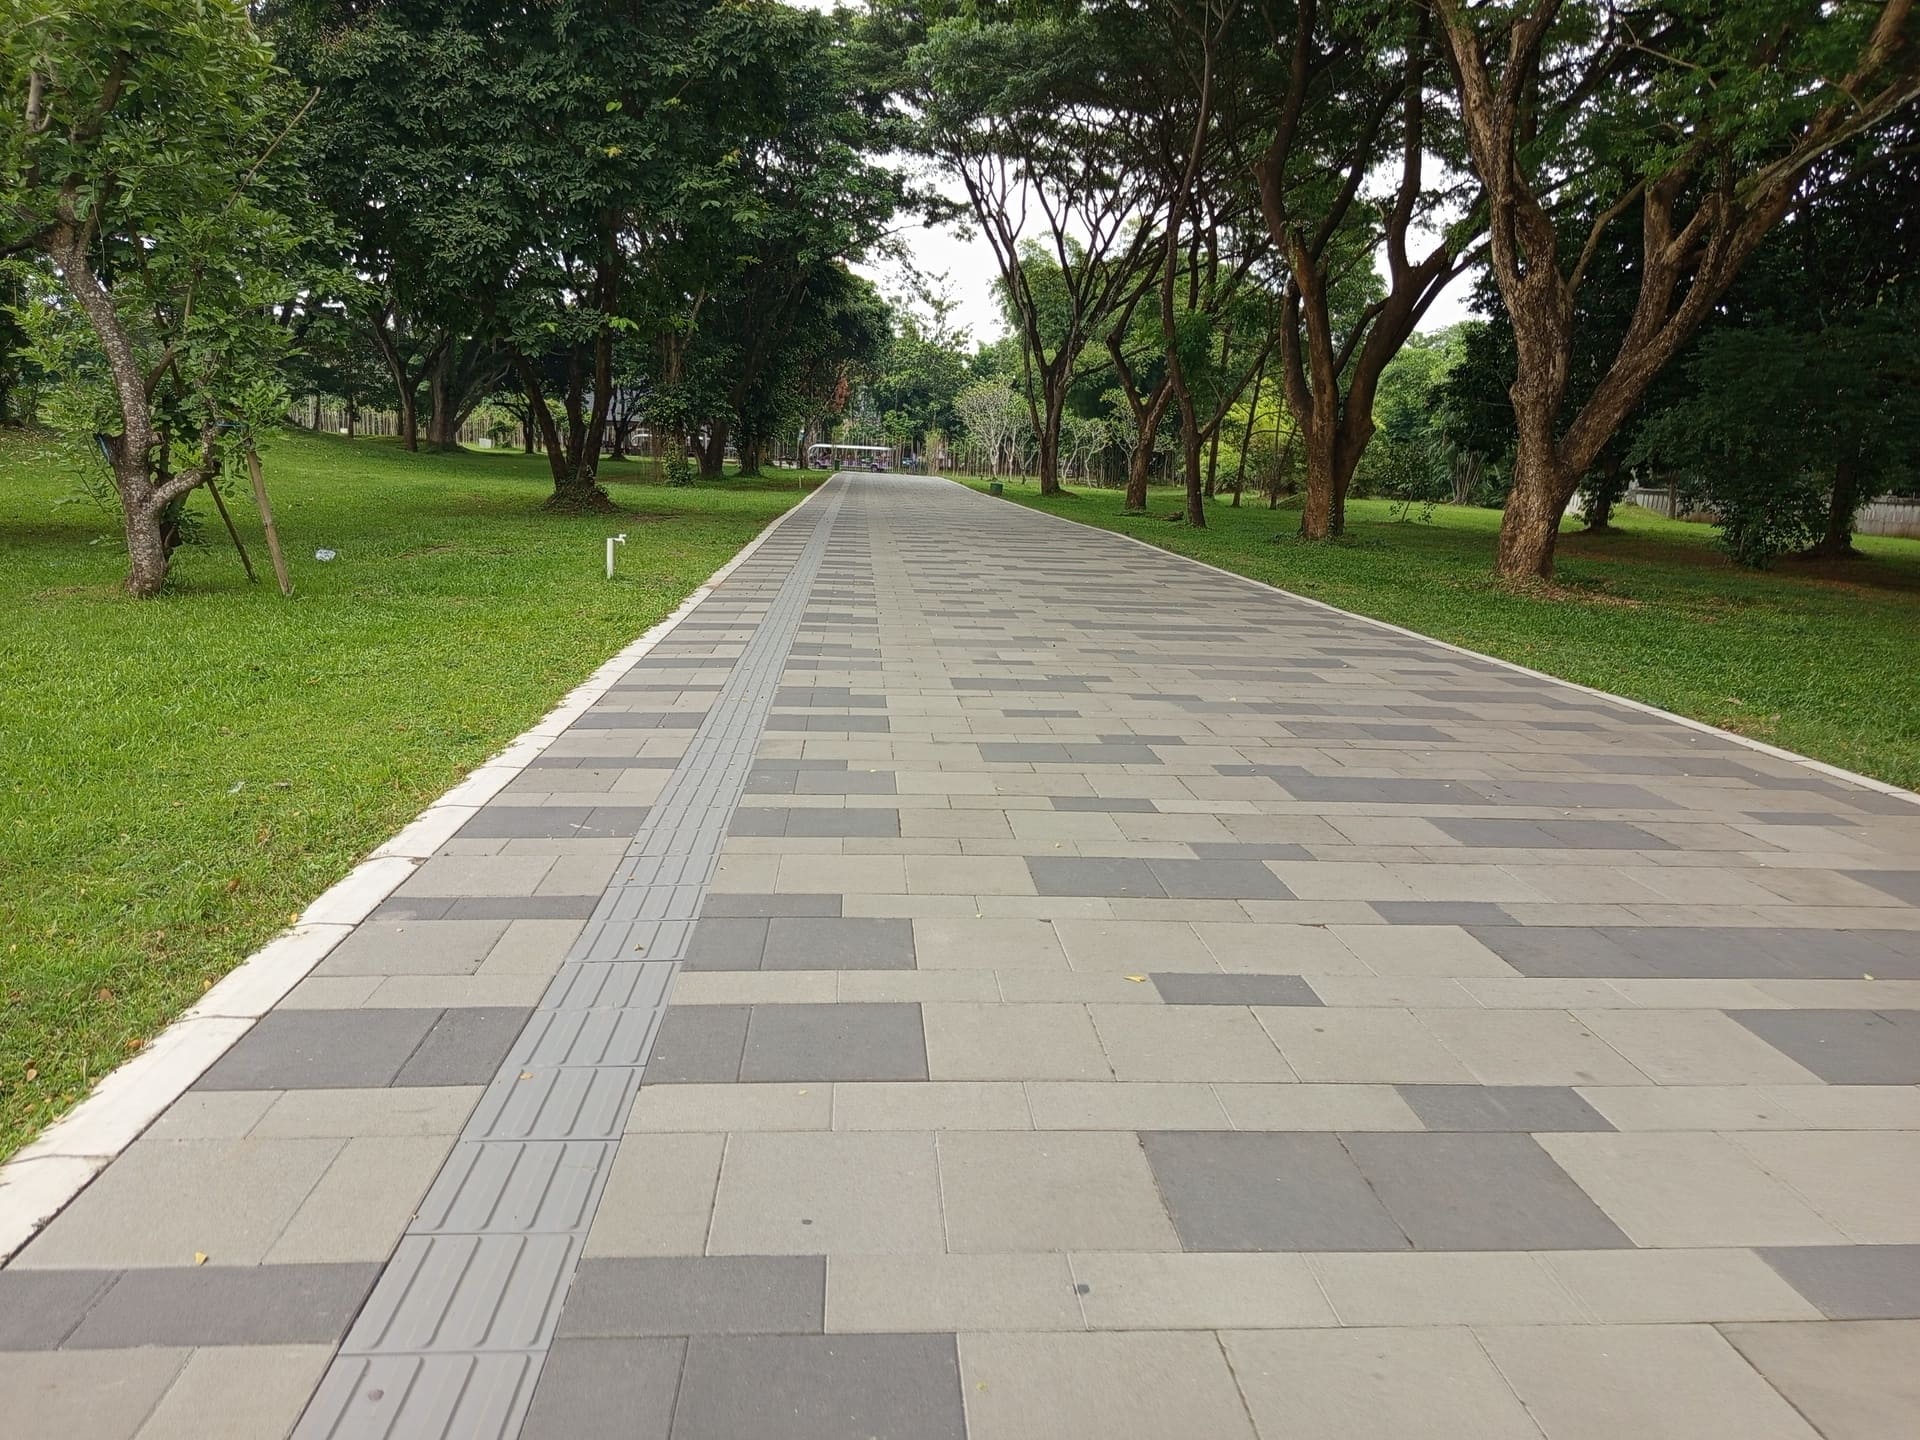
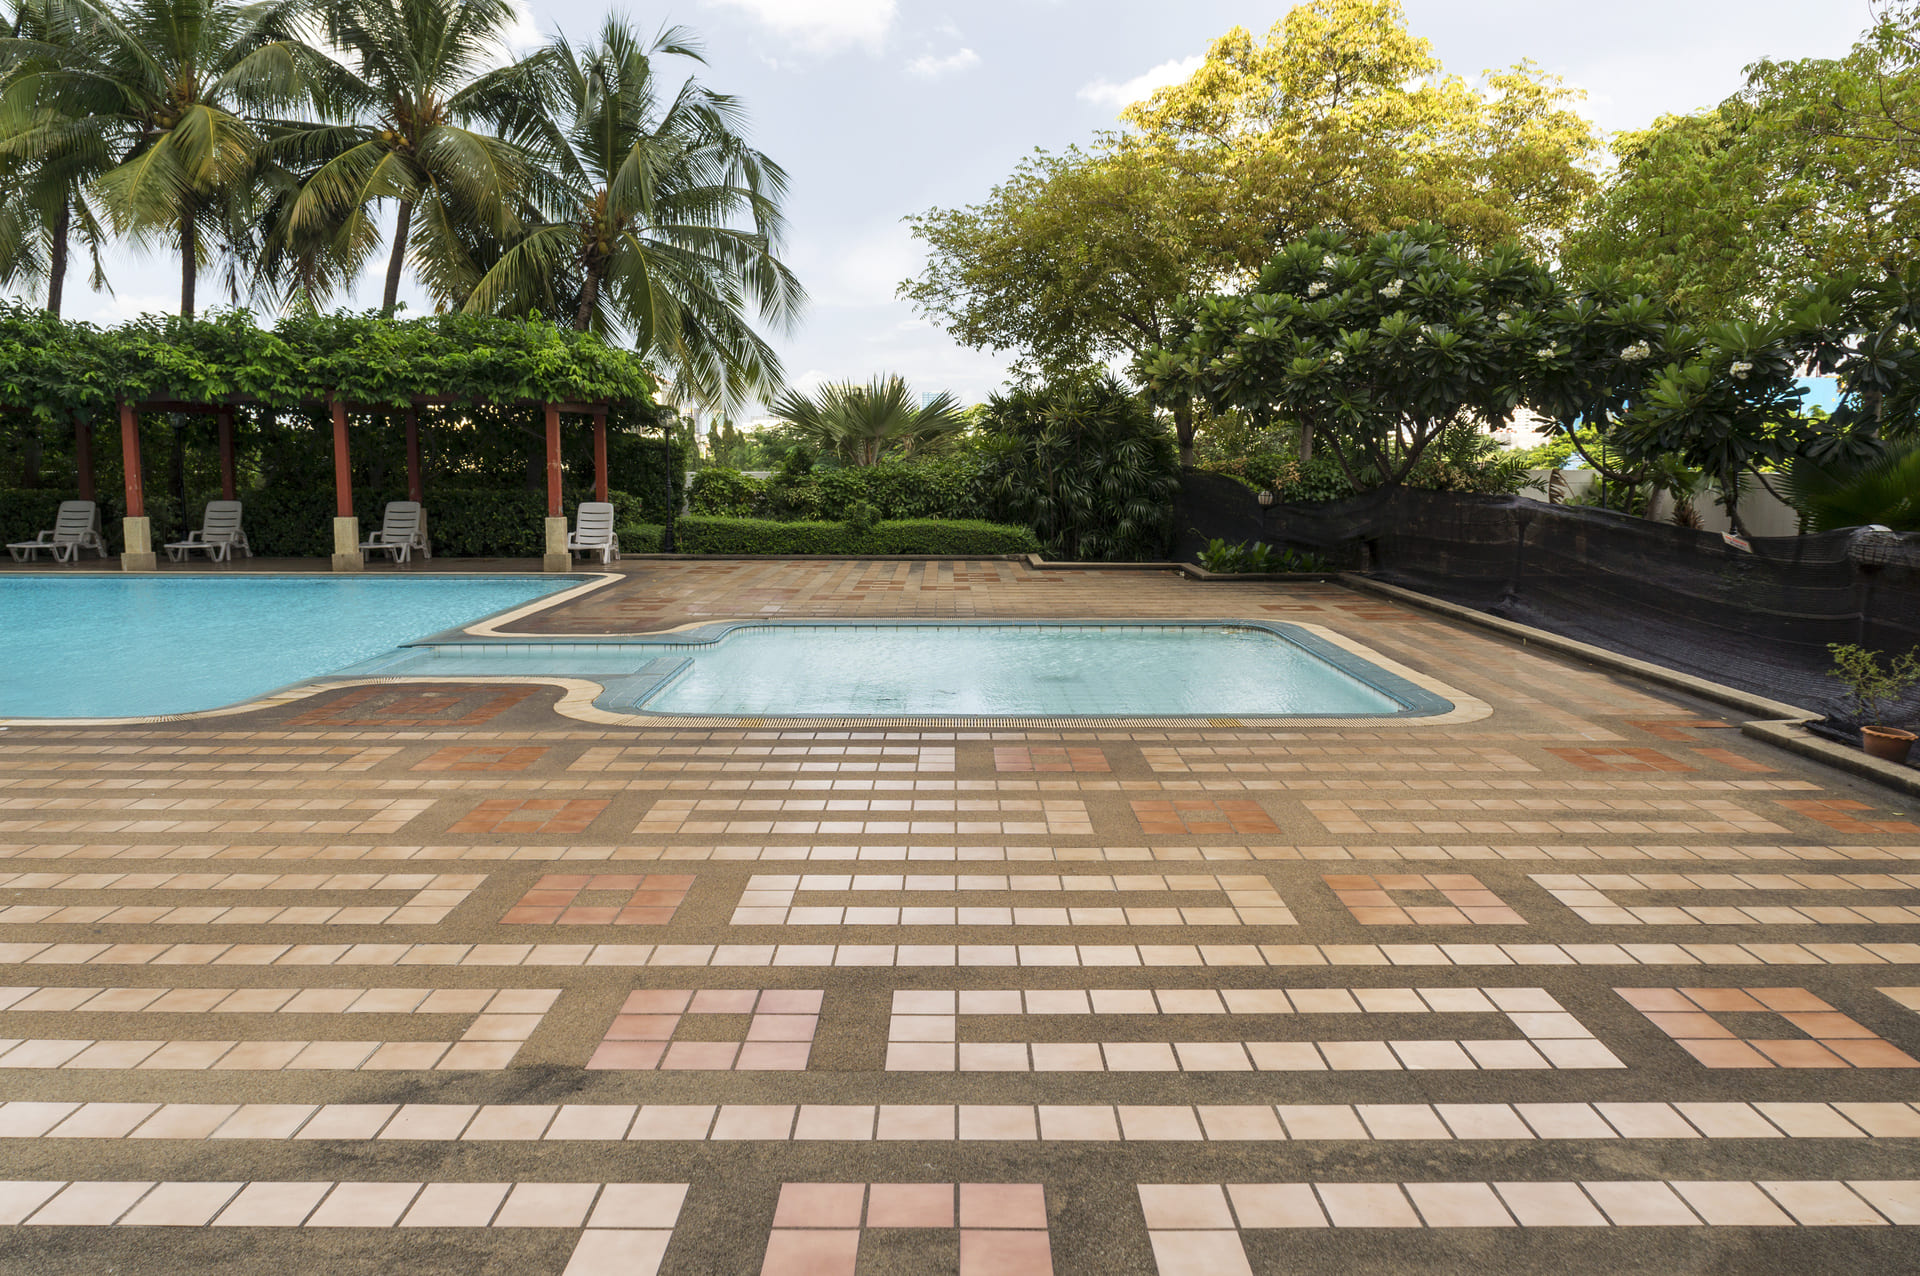
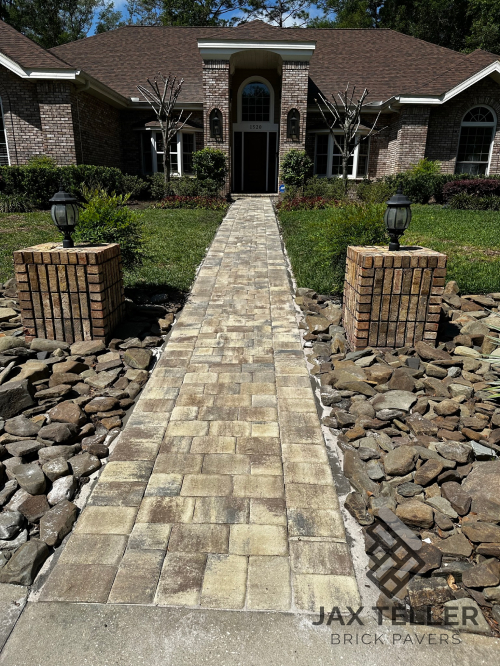
5. Selecting the Wrong Brick or Pattern for Climate & Use
Choosing a brittle brick or a delicate pattern for heavy foot traffic or wet conditions leads to wear. Selecting wrong size or texture can reduce safety and comfort.
7 Essential Steps for a Flawless Brick Paver Patio Installation
Follow these 7 key steps to ensure a long-lasting, beautiful paver patio:
- Site Assessment & Excavation
Evaluate slope, drainage, and soil. Excavate to stable subgrade. - Base Installation & Compaction
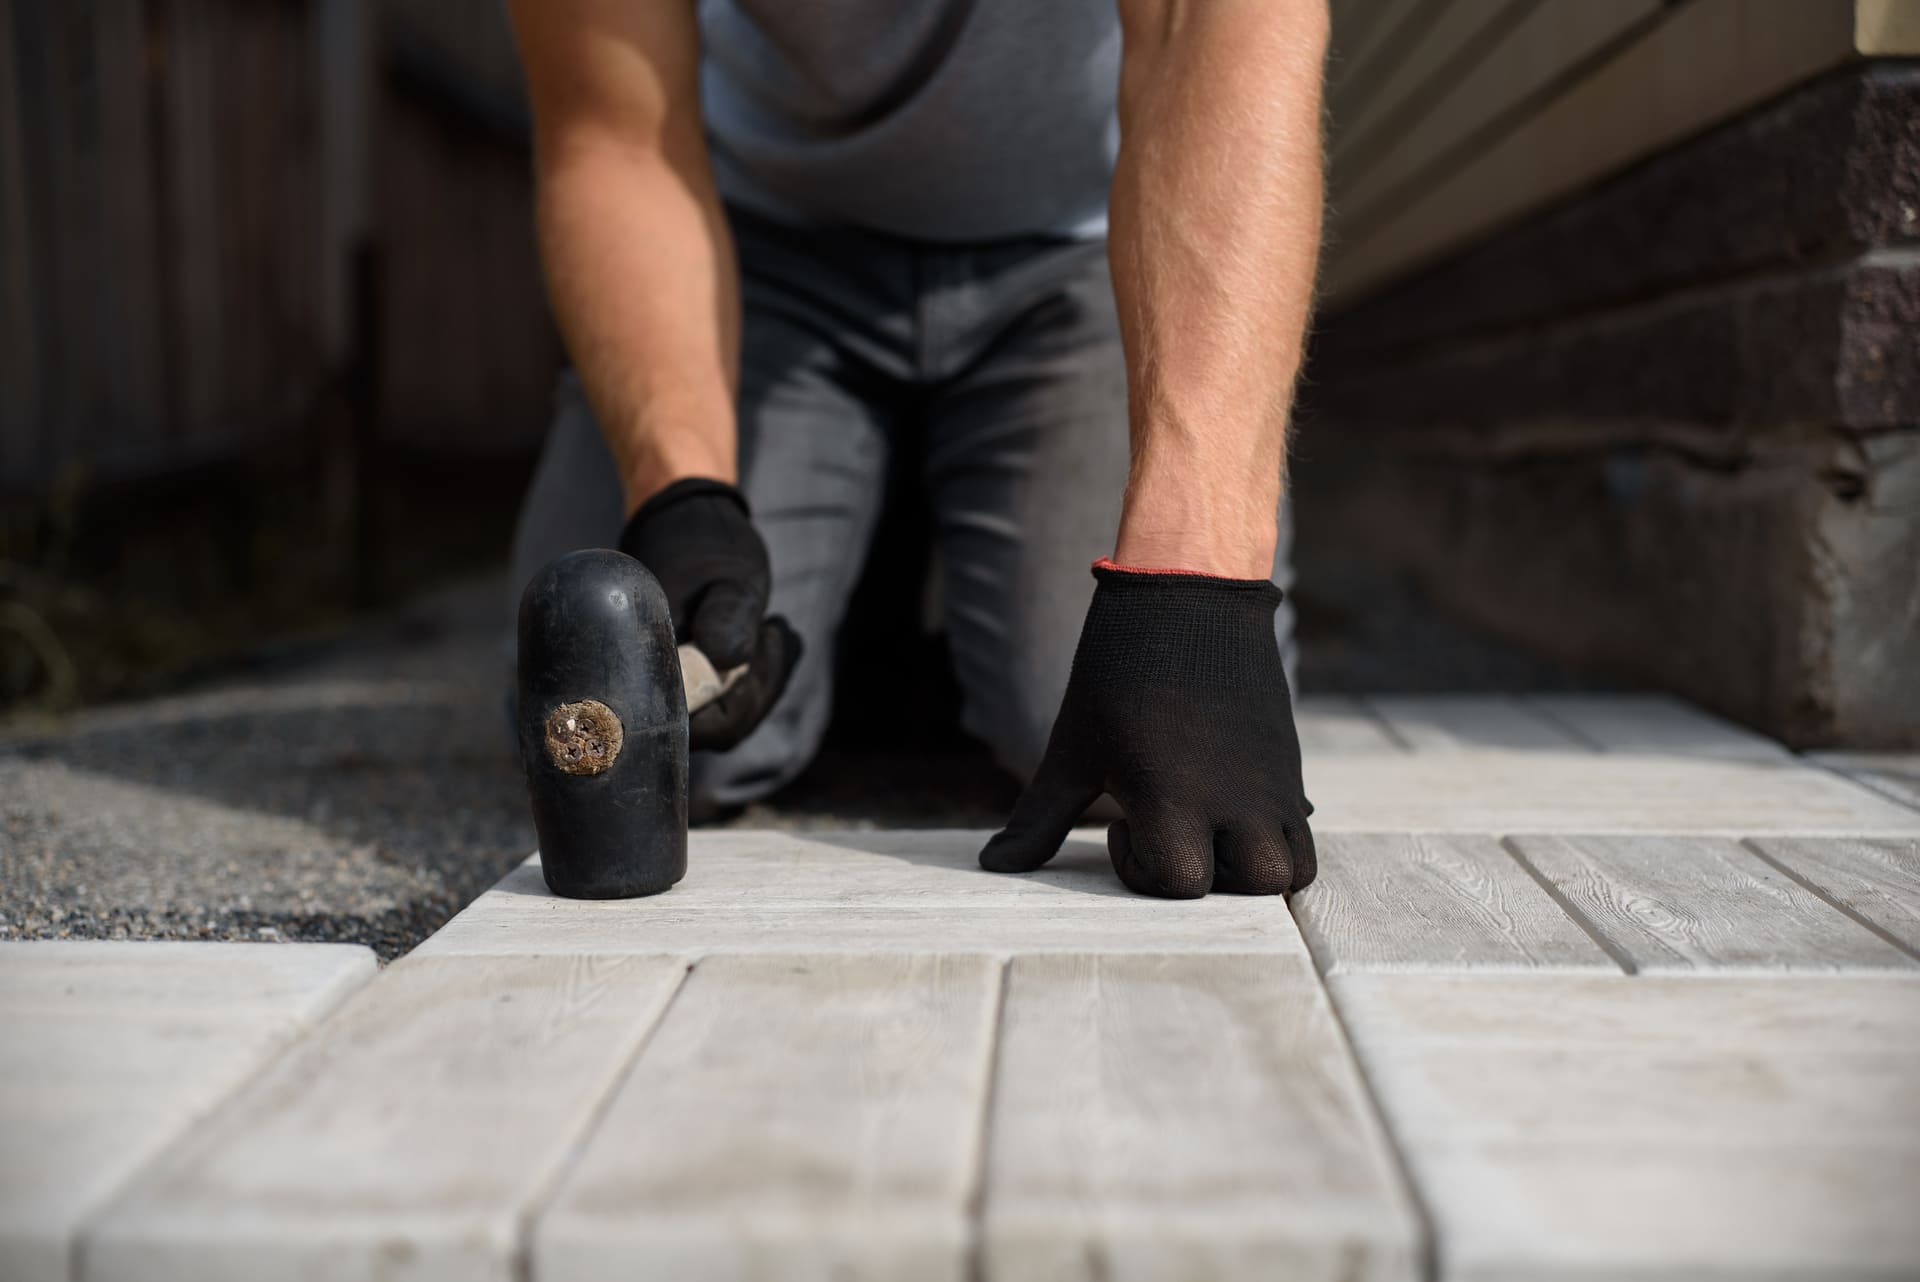
Apply gravel or crushed concrete base in layers, compacting each to ideal density. - Add Bedding Sand Layer
Spread a level bed of coarse sand (~1″ thick) for smooth setting. - Install Edge Restraints
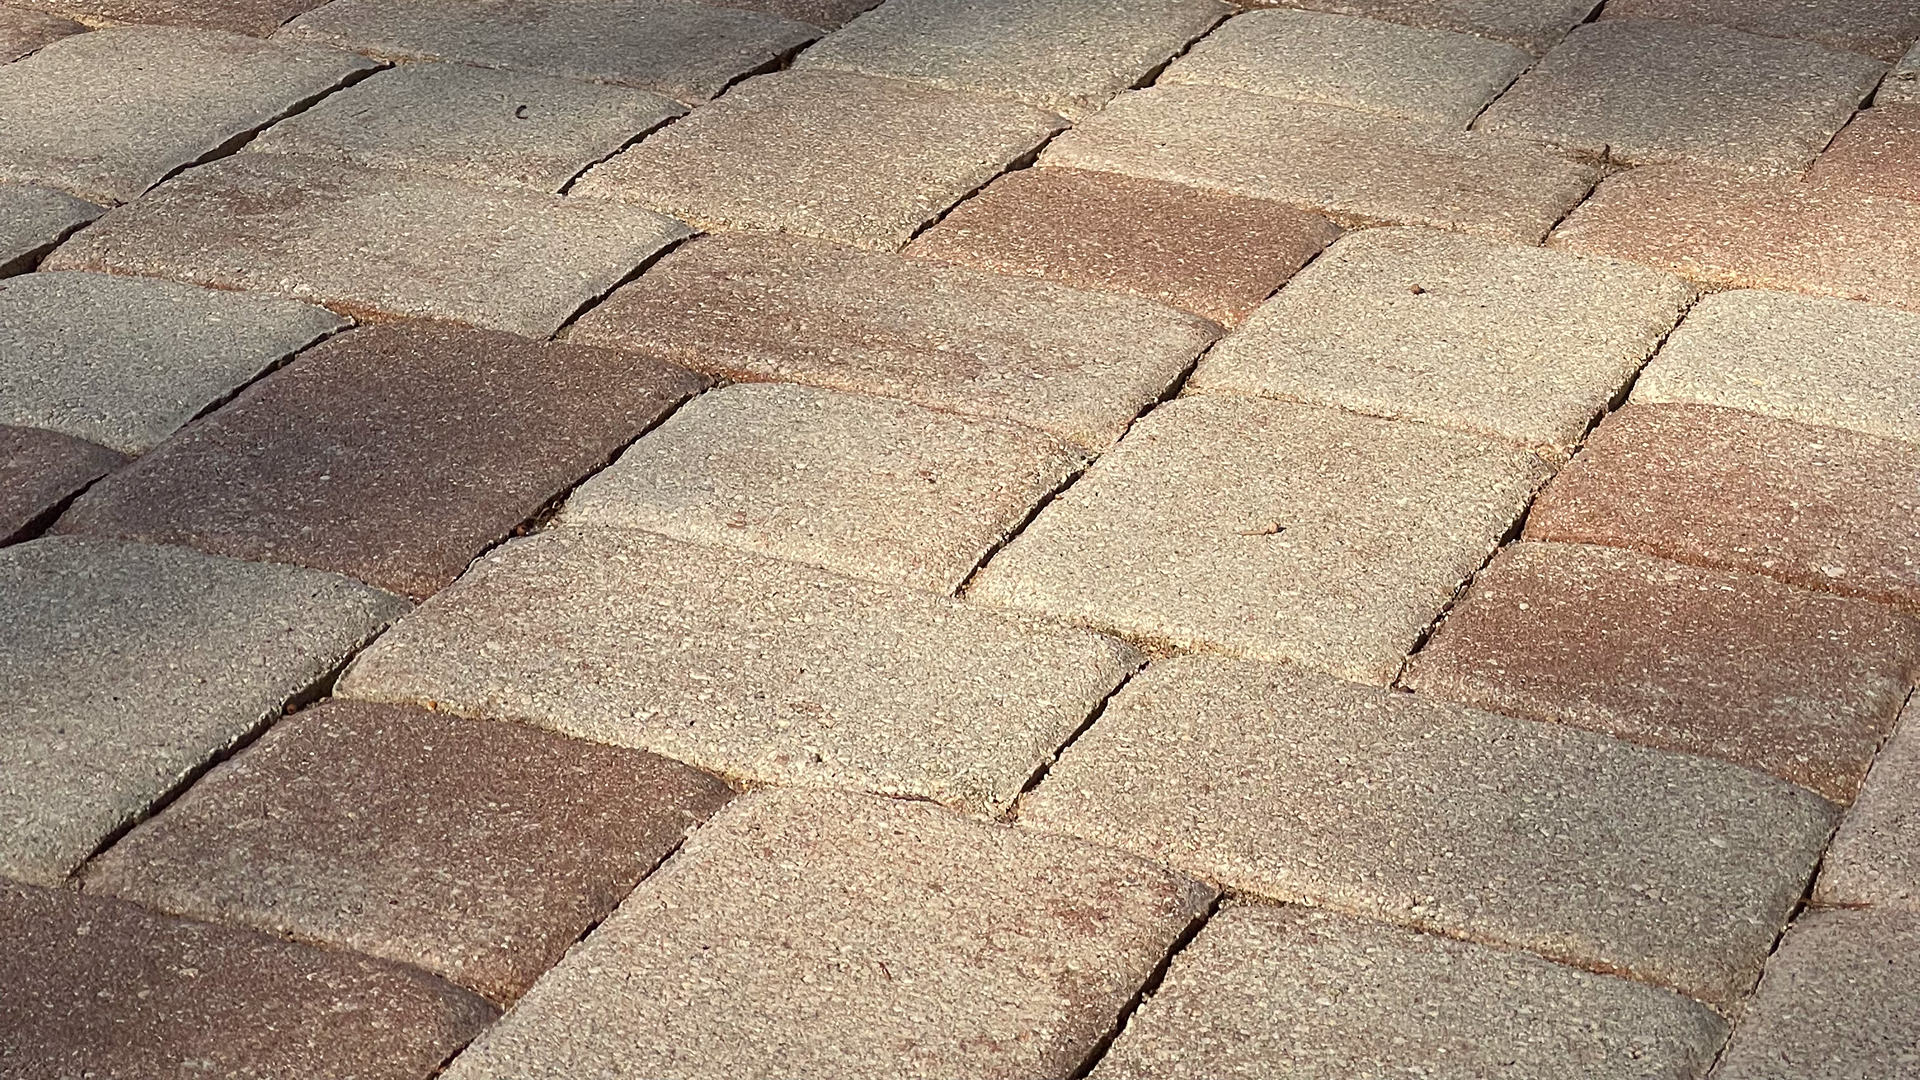
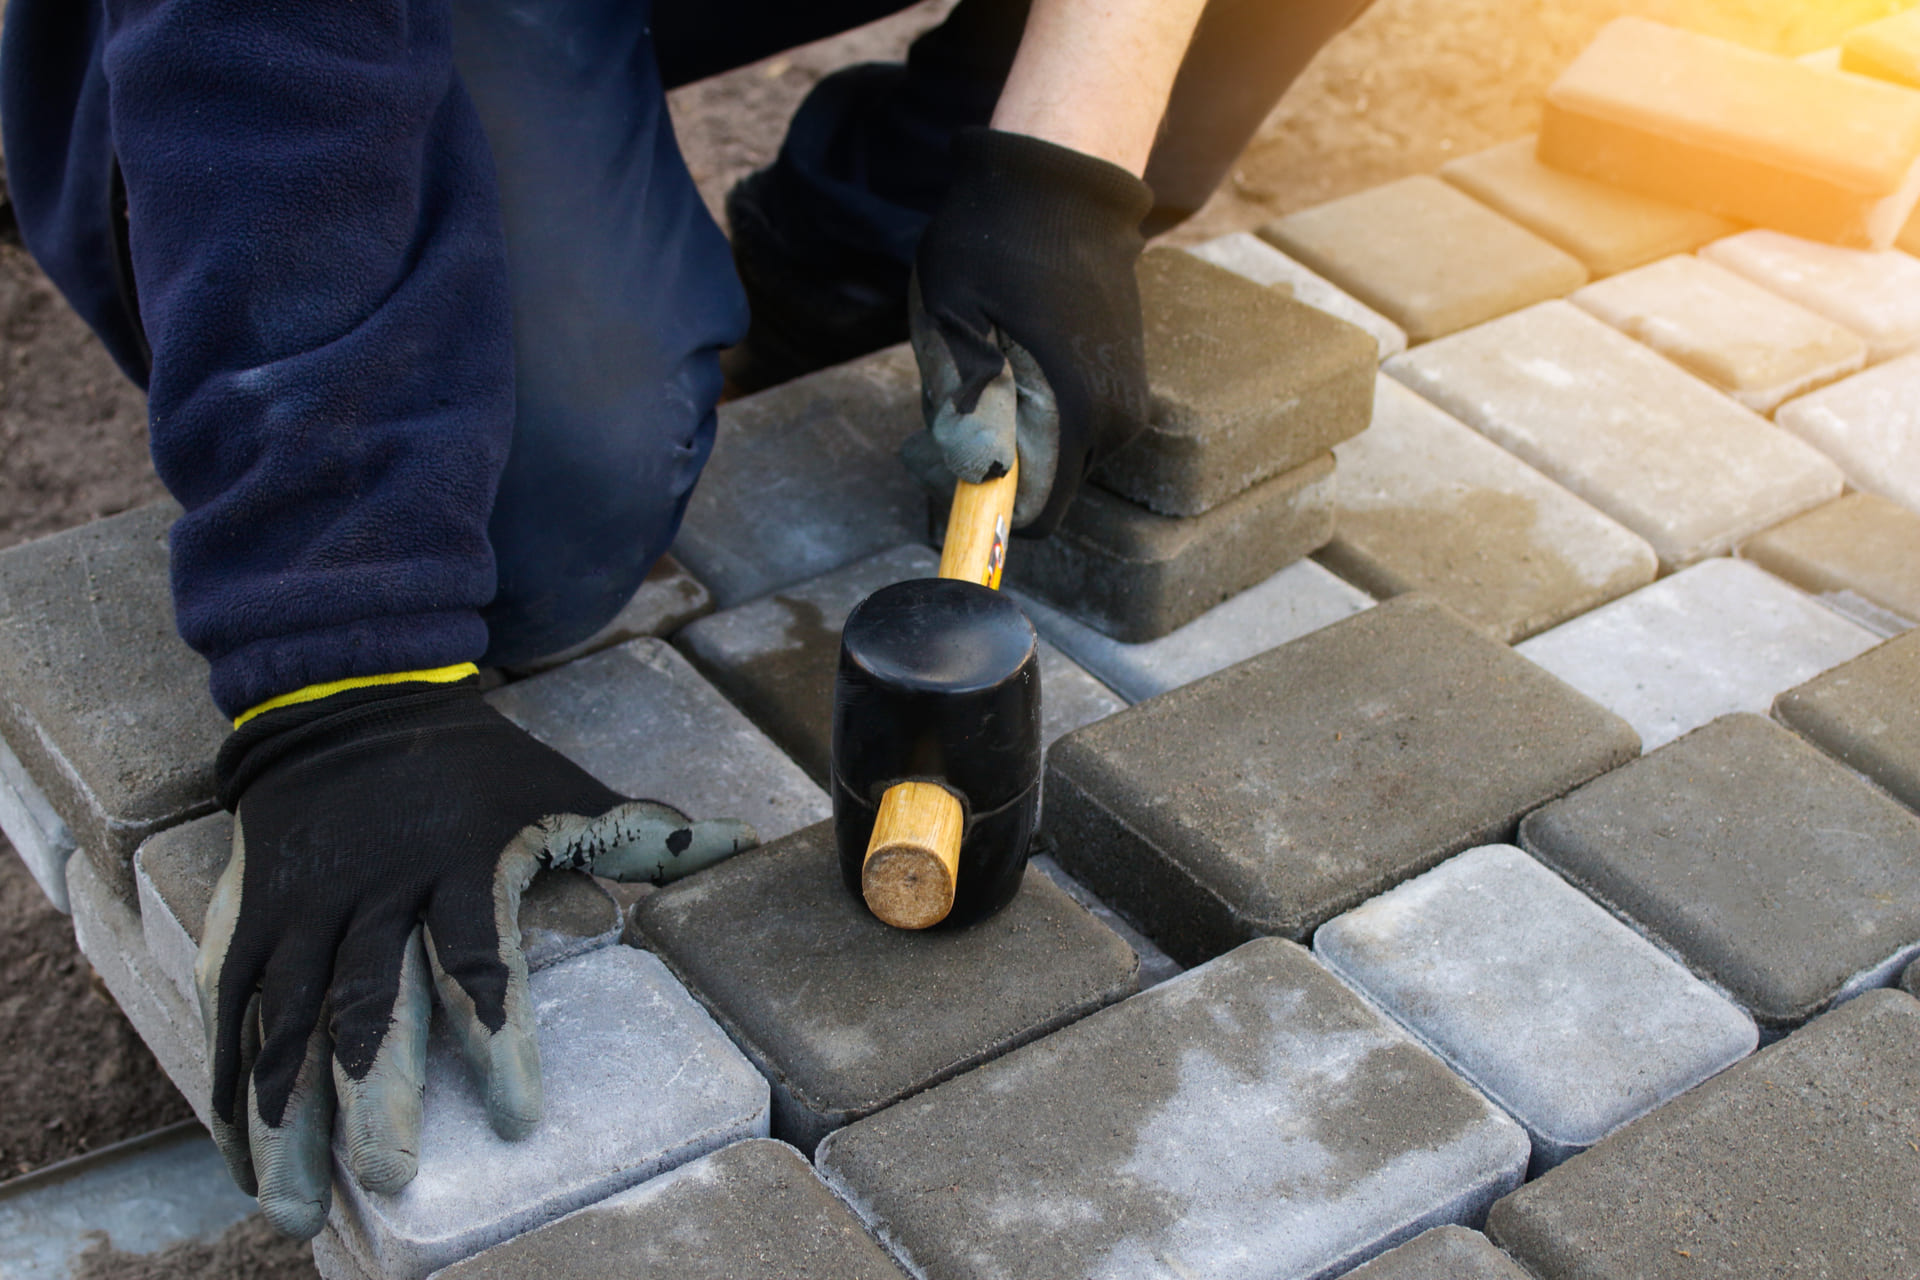
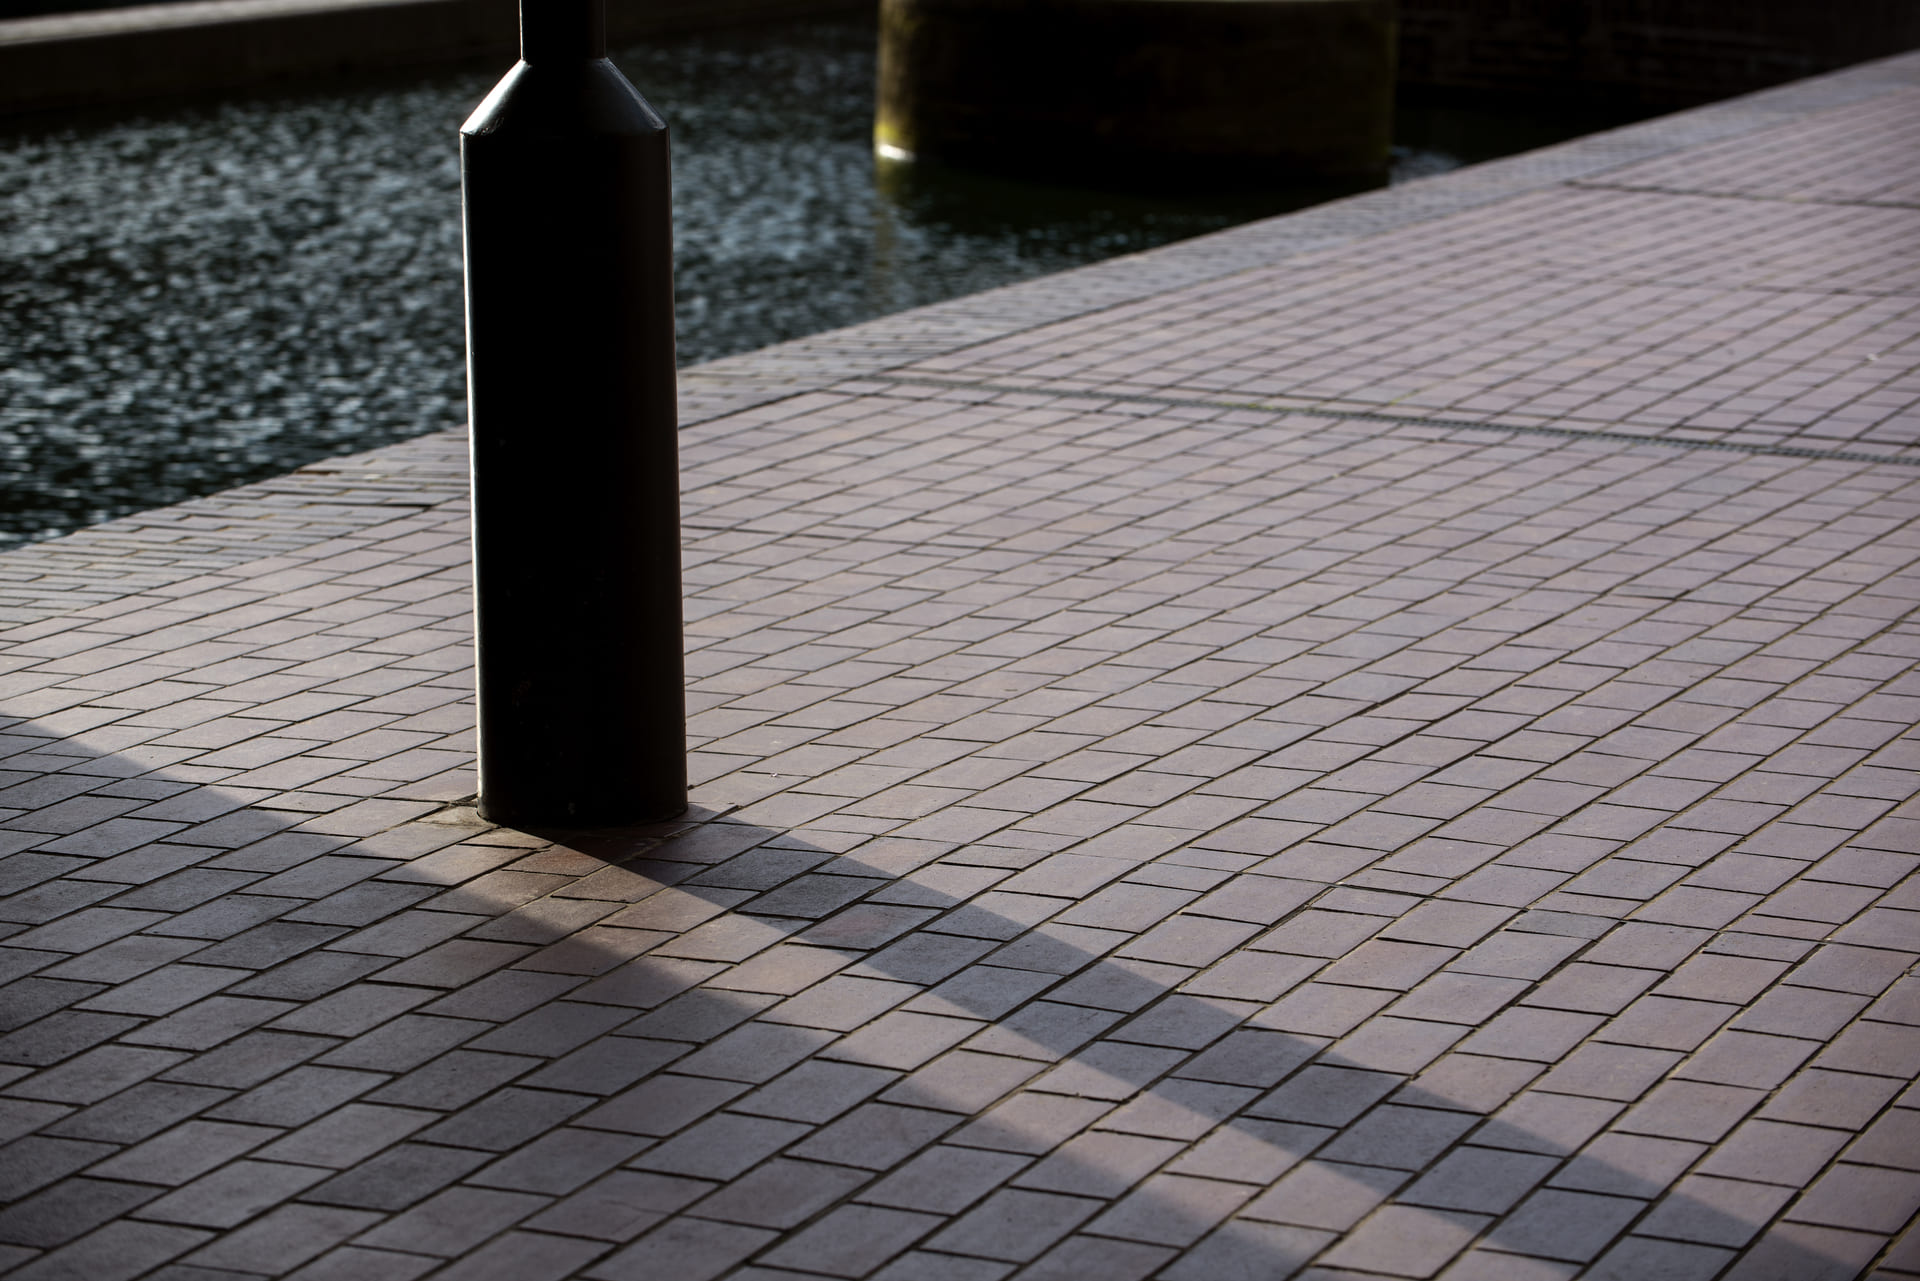
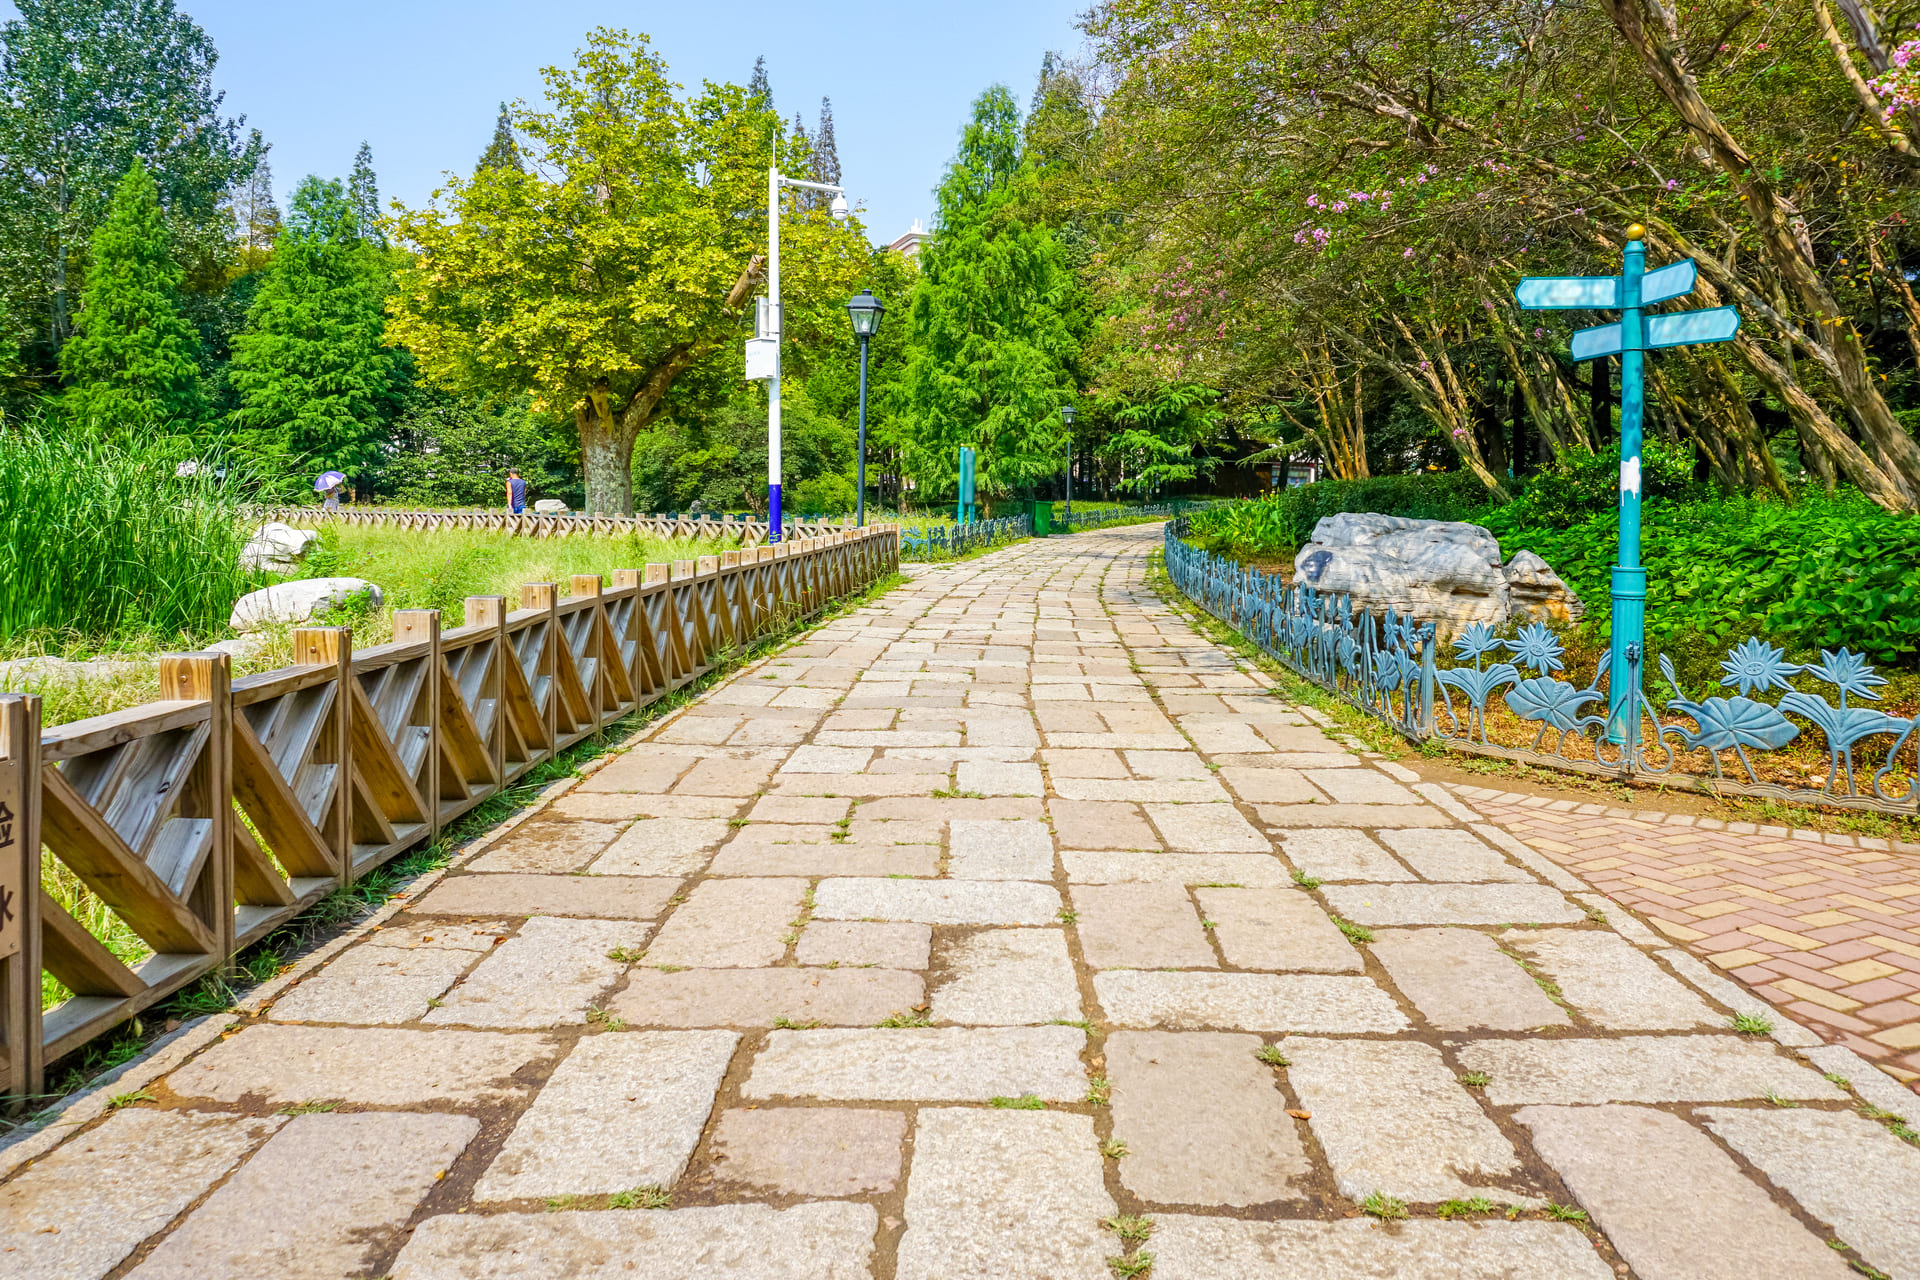
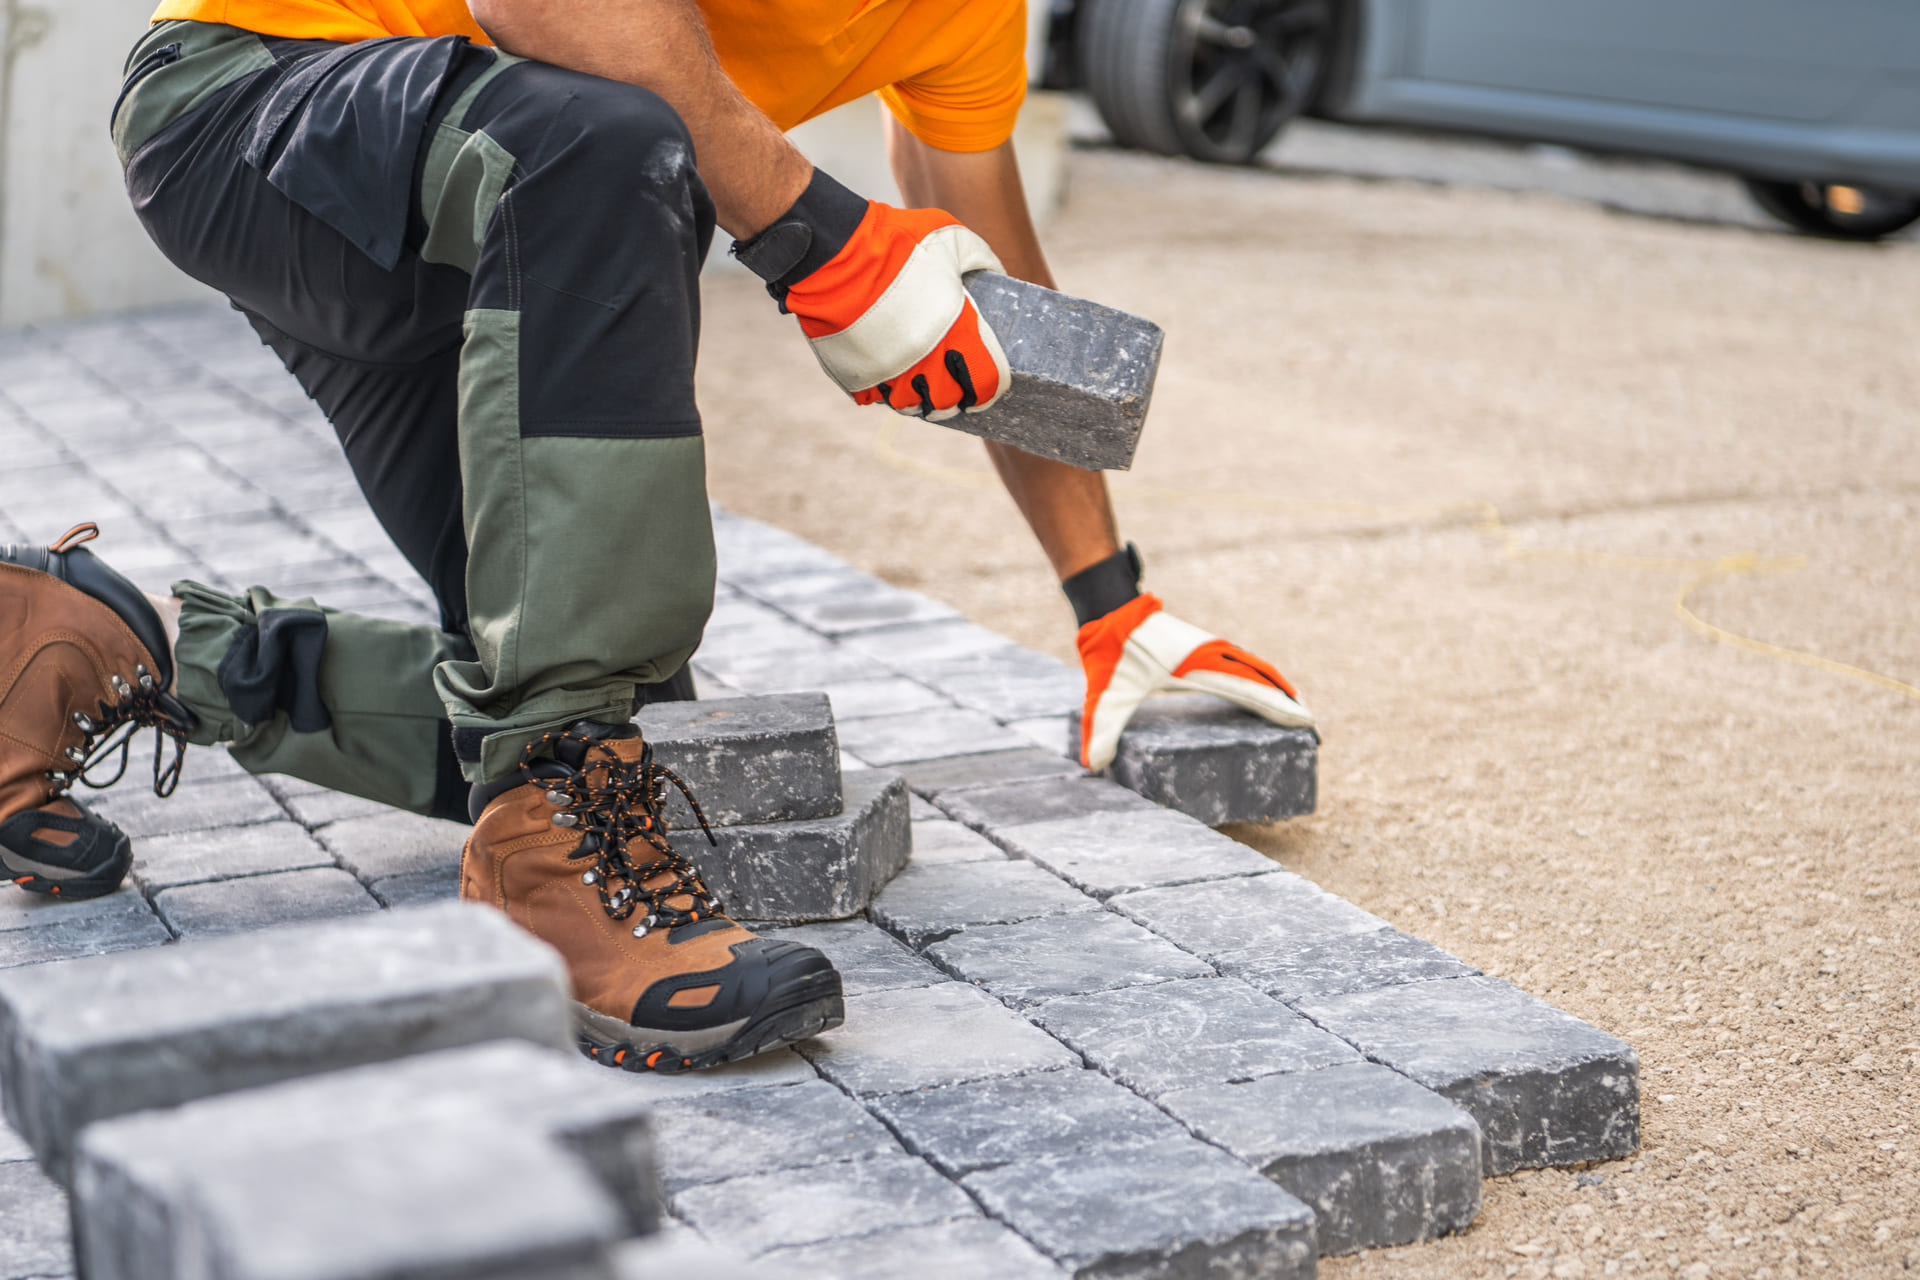
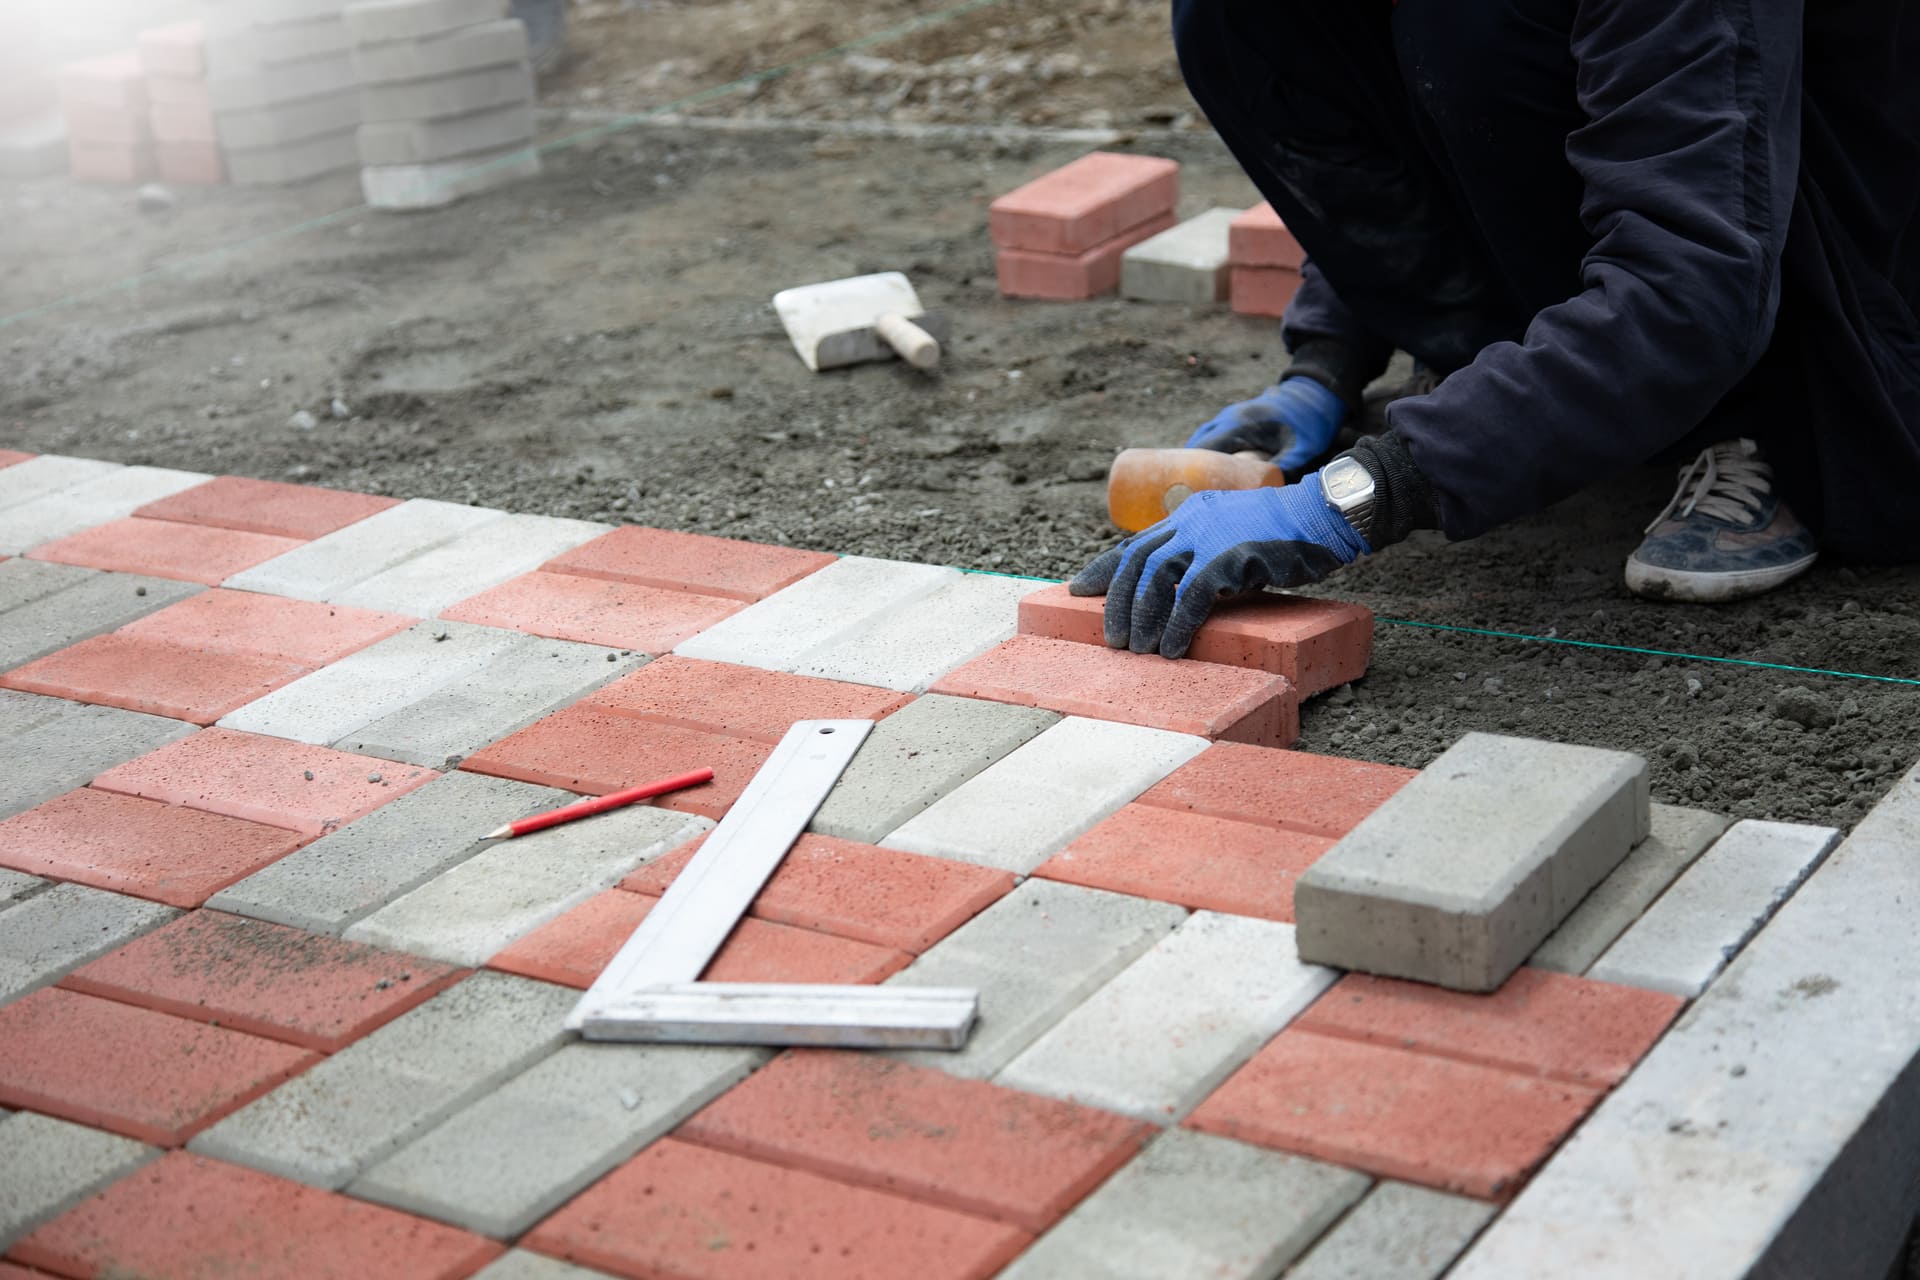
Secure borders with concrete or rigid restraints to lock pavers in place. - Lay Pavers in Chosen Pattern
Align pavers precisely in design (herringbone, basketweave, etc.), maintaining consistent spacing. - Sweep & Compact Joint Sand
After laying, sweep polymeric sand into joints, compact thoroughly, then mist-and-cure. - Seal & Inspect Final Surface
Apply water‑based sealer. Inspect for levelness, joint integrity, and clean finish.
Why Mistake-Free Installation Matters
- Middle‑term durability: Skipping steps reduces life span drastically.
- Resale value: A properly installed patio adds perceived value and curb appeal.
- Maintenance ease: Mistake-free methods mean fewer weeds, less shifting, less resealing needed.
How JaxTeller Brick Pavers Helps You Avoid These Mistakes
At JaxTeller Brick Pavers, we specialize in avoiding the 5 installation mistakes and executing the 7 essential steps with precision.
- We conduct thorough site assessment to tailor base depth and drainage to each property.
- We use premium base materials and compaction techniques suited for your soil.
- We choose the right brick type and pattern for style and functionality.
- Edge restraints, precise laying, and correct polymeric sand use are core parts of our process.
- We seal the patio using high-quality products for lasting protection and beauty.
Our local expertise ensures your patio holds up in heat, humidity, and UV exposure. Plus, we highlight curiosidades de construção em Largo—local construction quirks—to personalize each project and honor regional building heritage.
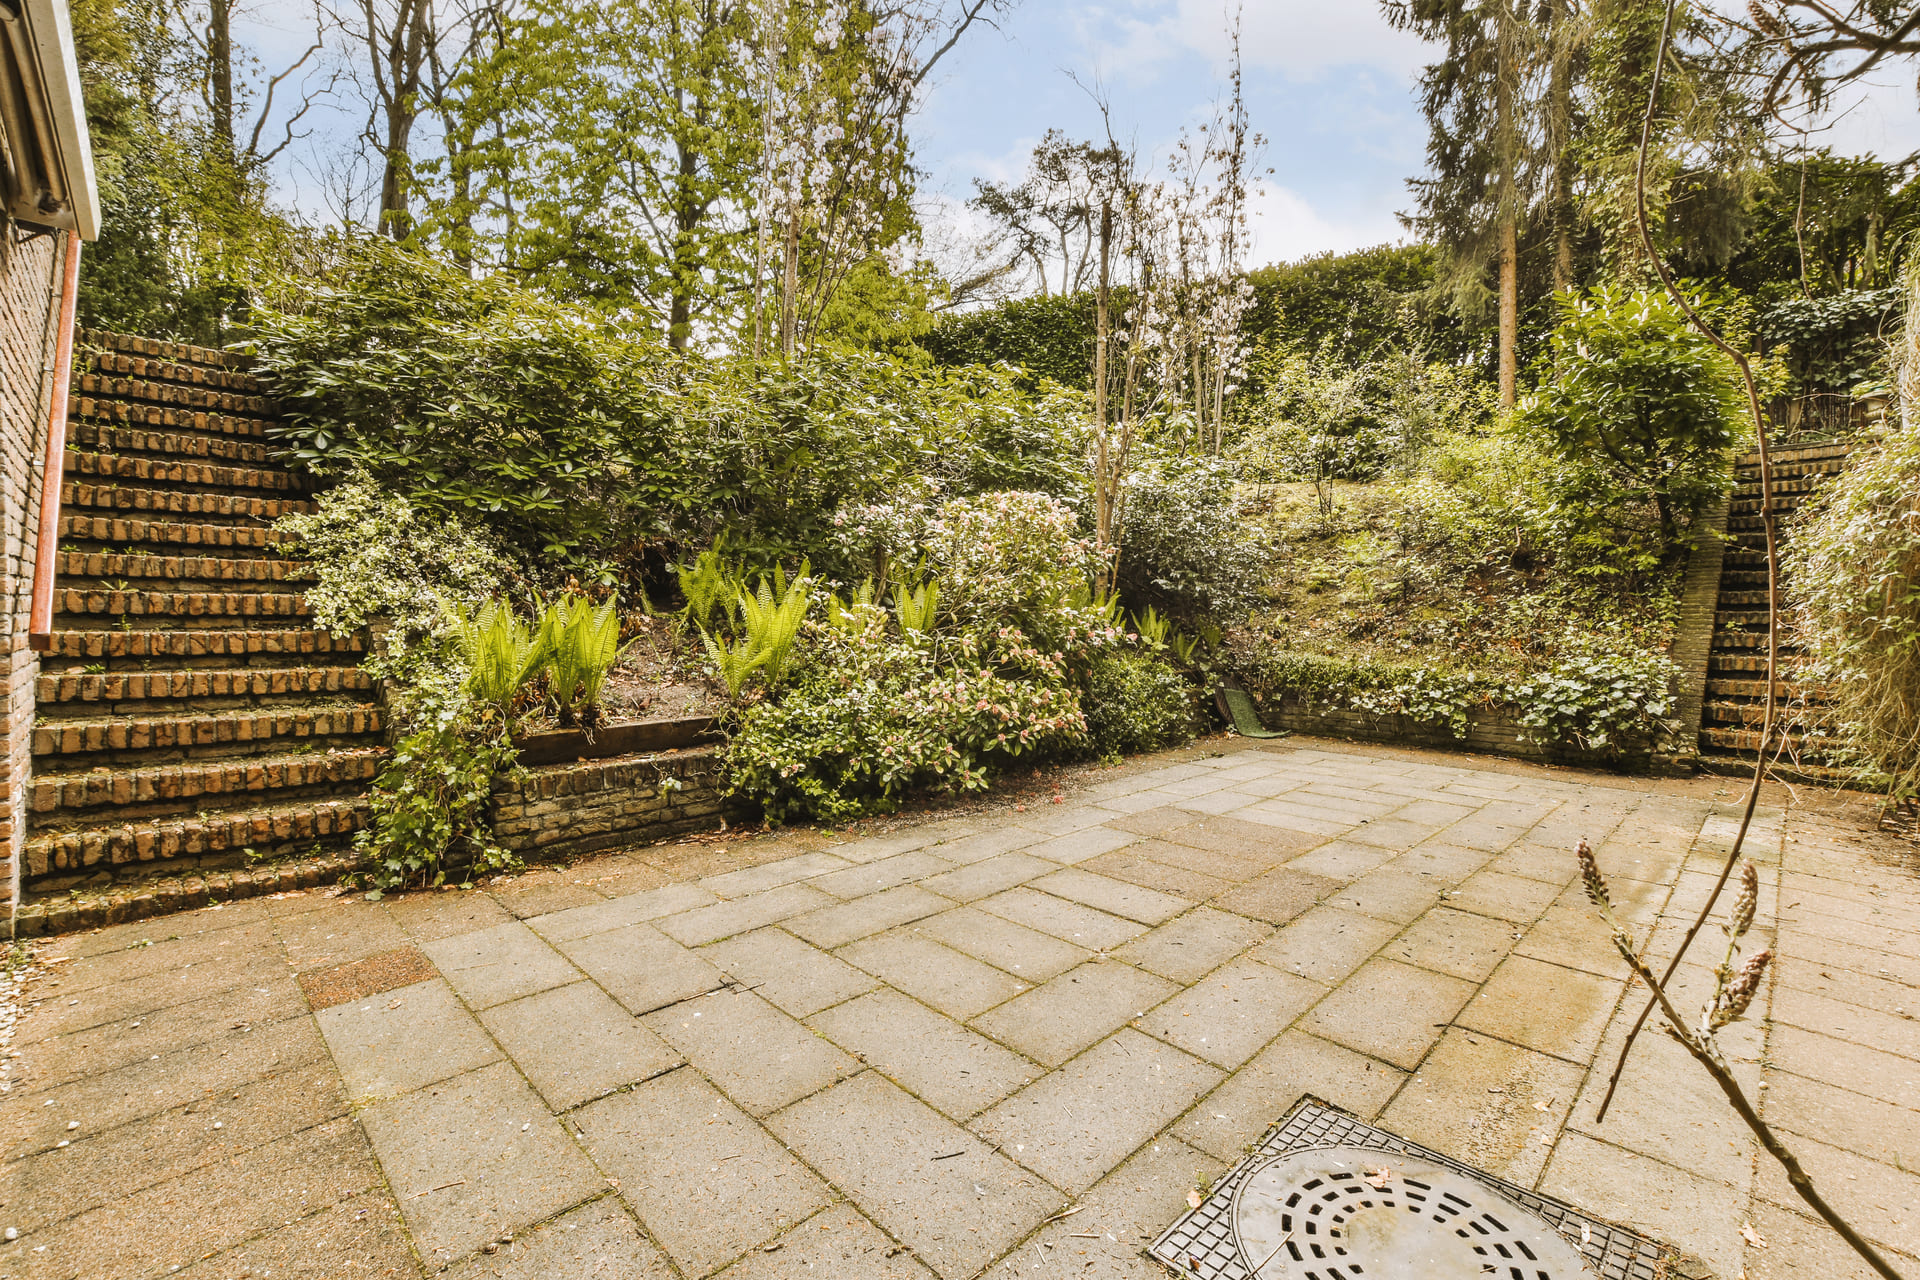
Maintenance Tips to Protect Your Patio
- Re-seal every 2–3 years to preserve color and prevent weed intrusion.
- Sweep regularly to keep joint material packed and minimize ant nesting.
- Replace damaged pavers promptly to avoid widespread shifting or drainage issues.
- Check edge restraints annually to ensure nothing has bowed or loosened.
Internal & External Resources
Internal Link:
For a deeper dive into paver installations tailored to Largo, visit our project gallery here:
https://mediumorchid-fish-139456.hostingersite.com/projects
External Link:
To review the official installation standards, visit the Interlocking Concrete Pavement Institute:
https://www.icpi.org/
Call-to-Action Section
Ready to upgrade to a flawless brick paver patio installation?
Contact JaxTeller Brick Pavers at +1 407-907-8308 or jaxtellerbrickpavers@gmail.com for your free estimate!
Follow JaxTeller Brick Pavers on Instagram: @jaxtellerbrickpavers | Facebook | WhatsApp